6/4/17: Storage Fronts and Lids
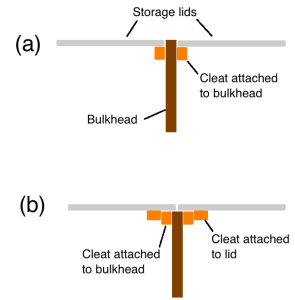
The lower storage areas in the forward cabin must have lids on which the bunk cushions sit. The image below shows two possibilities for supporting the lids, where in (a) the lids are slightly recessed and are supported by horizontal cleats screwed and glued to the bulkheads. In this case, the bulkhead keeps the lids from moving horizontally. In (b), on the other hand, the lids sit on top of the bulkhead and are kept from moving horizontally by additional cleats attached to the lids. I chose option (b) because a higher lid gives a little more space for vent hoses under the lid that covers the holding tank.
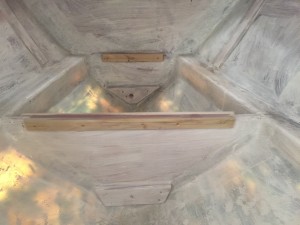
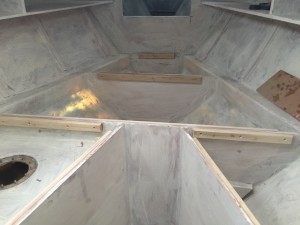
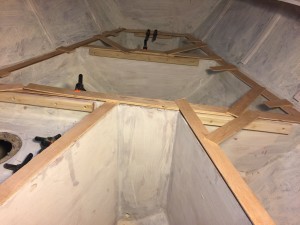
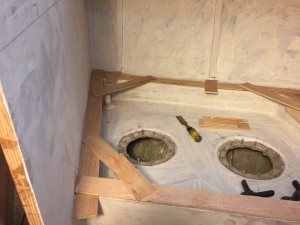
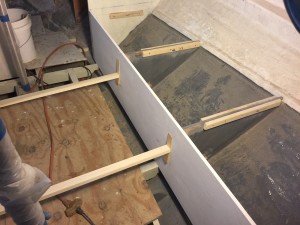
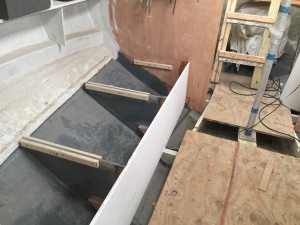
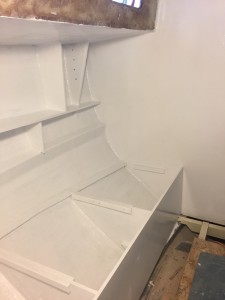
The photo below shows some of the horizontal cleating in the forward cabin.
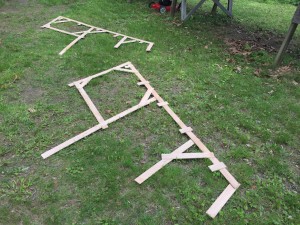
I made templates for the lids in the usual way (using thin plywood strips and the hot-glue gun).
The templates were made in two pieces, which were carefully marked for reassembly out of the cabin.
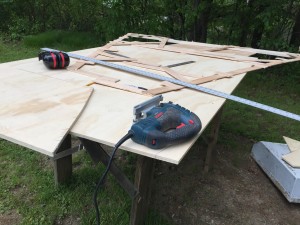
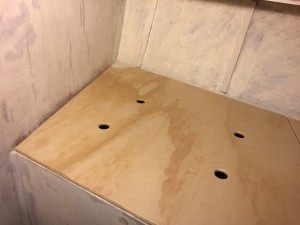
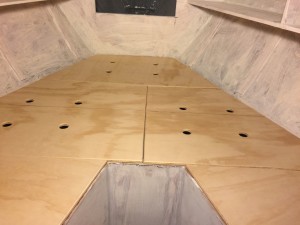
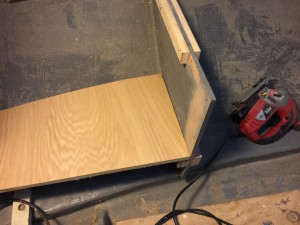
The lids were cut from 1/2-inch plywood, with 1.25-inch finger holes to facilitate removal and ventilation.
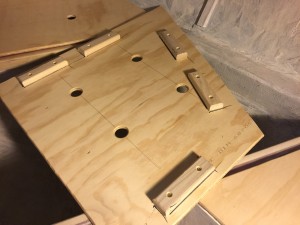
Next, I dry-fitted the short cleats to the lid bottoms. These cleats will keep the lids from moving horizontally.
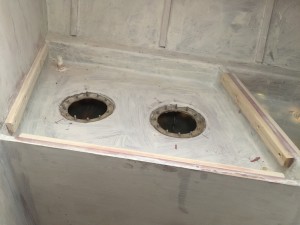
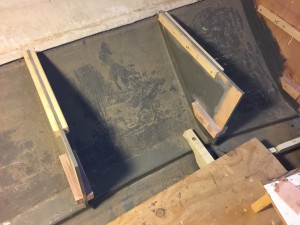
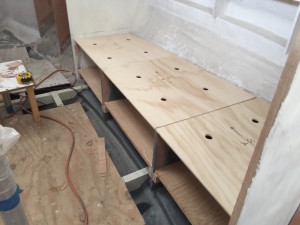
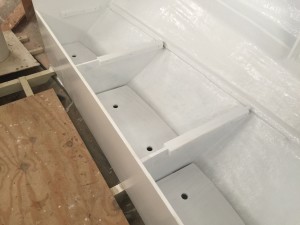
Meanwhile in the main cabin, the settees (which will double as bunks) still need lids and fronts. (Go HERE to review the situation in the main cabin.) The photo below shows the cleats for both the tops and the storage bottoms.
The storage bottoms were made of 3/4-inch plywood.
The storage lids were made of 1/2-inch plywood in the same fashion as the lids in for the forward cabin.
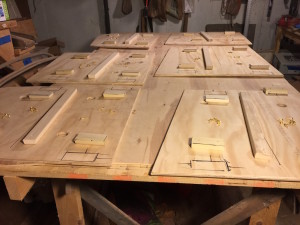
I fastened short cleats to the bottom of these lids to prevent horizontal motion, and long cleats for stiffening. In the photo below, these cleats are ready for fastening with epoxy and screws.
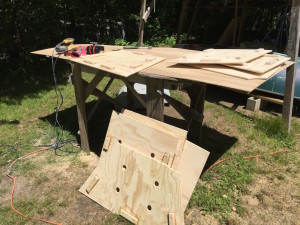
At this point all of the lids are ready for sanding in preparation for paint.
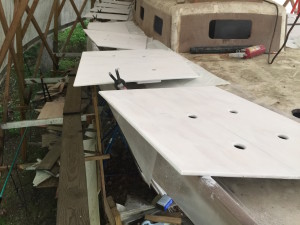
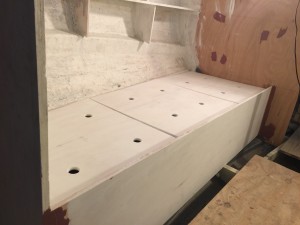
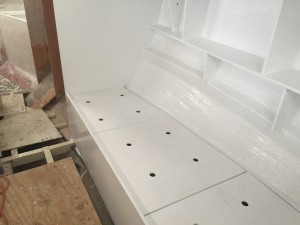
There are 11 lids in all. In the photo below, some of them have received a coat of white primer.
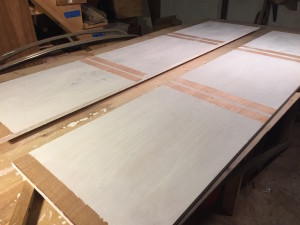
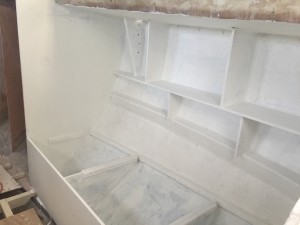
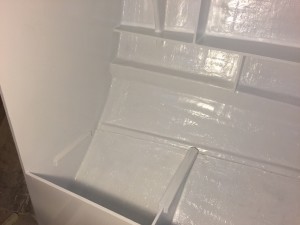
Meanwhile, in the basement, the bunk fronts have received a coat of white primer. These fronts will be bonded to the adjacent bulkheads, which is the reason for the unprimed areas you can see in the photo.
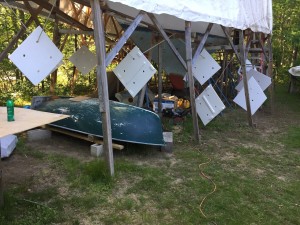
After sanding the dry primer, I hung the lids as shown below, where they received a coat of paint (Interlux Premium Yacht Enamel, flat white).
The floors of the storage lockers, similarly, received coats of primer and paint.
In the cabin, it was time to permanently install the fronts. Below you can see where I’ve blocked and shimmed the starboard front into position, with the port front (not shown) set up similarly. I decided to bond these front permanently, by tabbing them in the usual manner. I think the result (as opposed to screwing the fronts to vertical cleats) will stronger. (The probability that I will ever need to remove these pieces is very small.)
In the photo below, the tabbing (which can’t be seen here) is dry and the blocking has been removed.
Below, the lids are tested for fitting and a few small adjustments were required. Note the thickened epoxy applied to the forward and aft ends of the front.
Next, I applied primer to the whole area.
Then one coat of paint.
Eventually the floors will be screwed to the supporting cleats, but below they are simply placed into position.
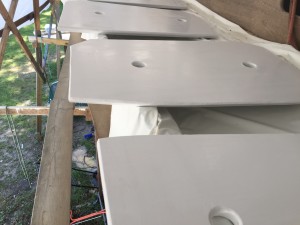
Below the painted lids are in place.
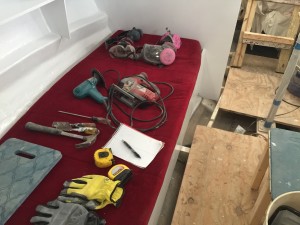
The old cushions (which will not be reused) make a nice protective surface for sitting, or storing tools.
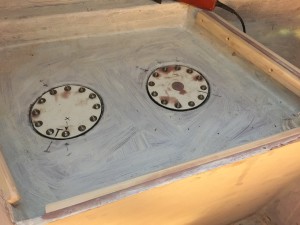
In preparation for more work in the forward cabin, I secured the holding tank ports with their new gaskets. In this way, nothing can fall or drip into the tank. Hopefully I will never have to open these ports, and every few days I tighten each bolt a little as a means to gradually work the gaskets into a perfect seal.
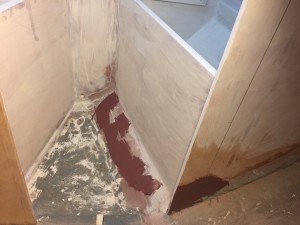
Also in the forward cabin, I wanted to smooth the small patch of hull that will be visible near the floor. What you see below should be the final application of thickened epoxy required to achieve this end.
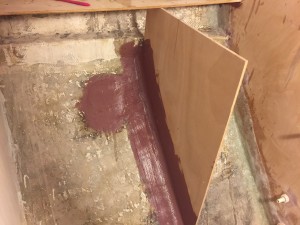
While I was working with thickened epoxy, I applied it to several other areas. Below we are looking at the port side of the hear compartment, where I’m fairing out the fiberglass tabbing, which is my practice wherever tabbing will be visible.
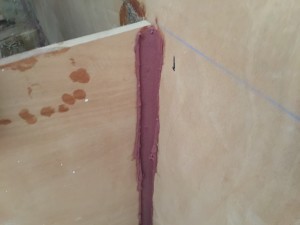
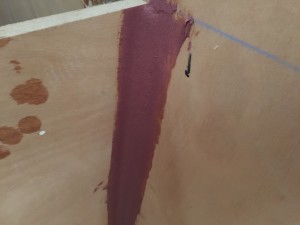
Wherever woods meets wood, I’ve been applying a wide, smooth fillet of thickened epoxy instead of, say, teak trim. Below we are looking at the galley area, where I’ve used a plastic spoon to make the rough fillet.
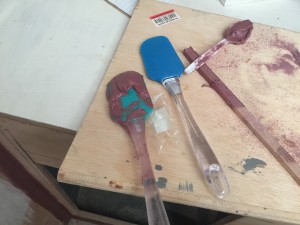
To get a nice, smooth, wide fillet, however, I need a wide, flexible tool. I’ve found that cheap rubber cooking spatulas, as shown below, are the perfect tool. Different pressure result in different widths, and you can take several swipes at different pressures until you get what you want.
The next major steps, I’ve decided, should be to begin work on a ceiling and the inside of the cabin house. This work might be messy, and I don’t want to have to worry too much about drips of paint and epoxy.50
