1/8/21: Cabinetry, Electrical
Work continued on the face-frames for the salon cabinetry. Using a stacked-dado set in the table saw is typically the easiest way to cut lap joints, but the length of the horizontal members of this work make that difficult, so I used my circular saw. I set the blade to the desired depth then used a straight-edge as a guide to establish the boundaries of the joint. At the ends there is just one boundary. You might remember the two little pieces of plywood in the photo below. If the guide is set back by their width, then the blade cuts along one side (the right side in the photo below).
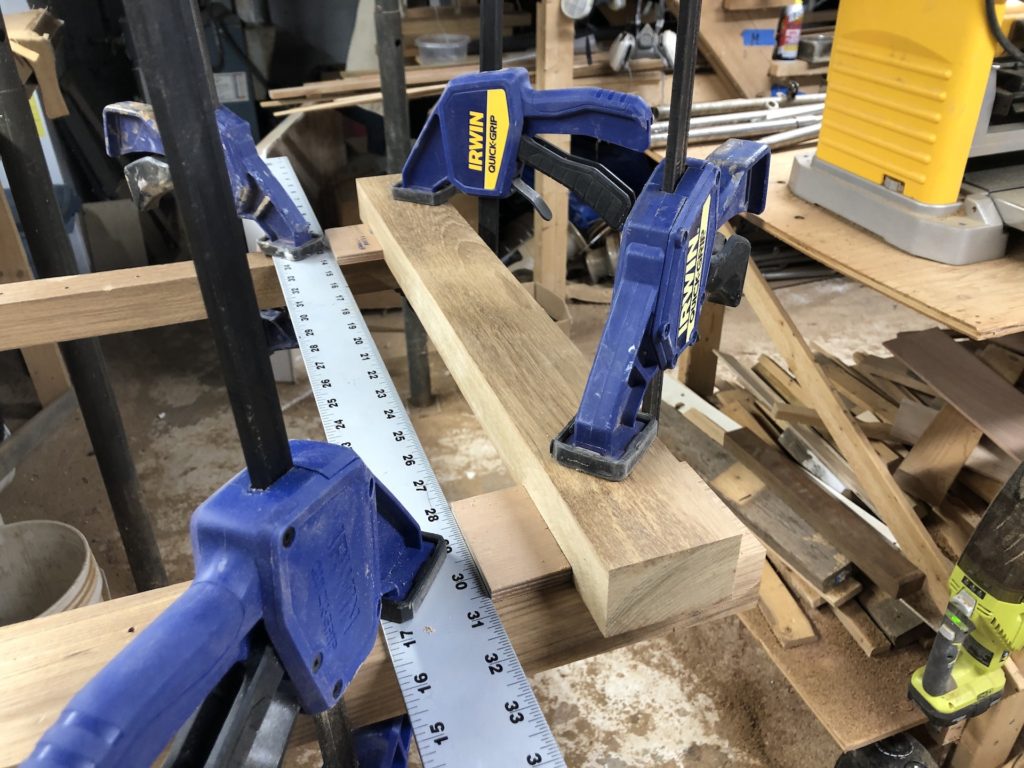
After establishing the boundary, many more cuts are done freehand (no guide)…
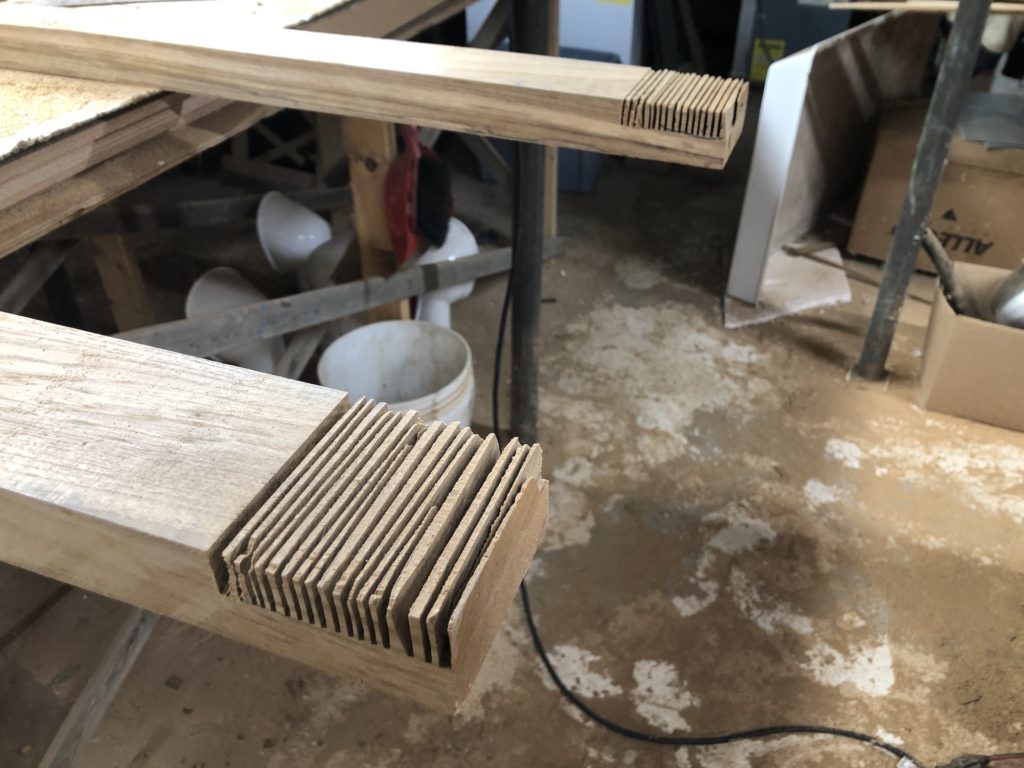
…then knock out the waste with a rubber mallet…
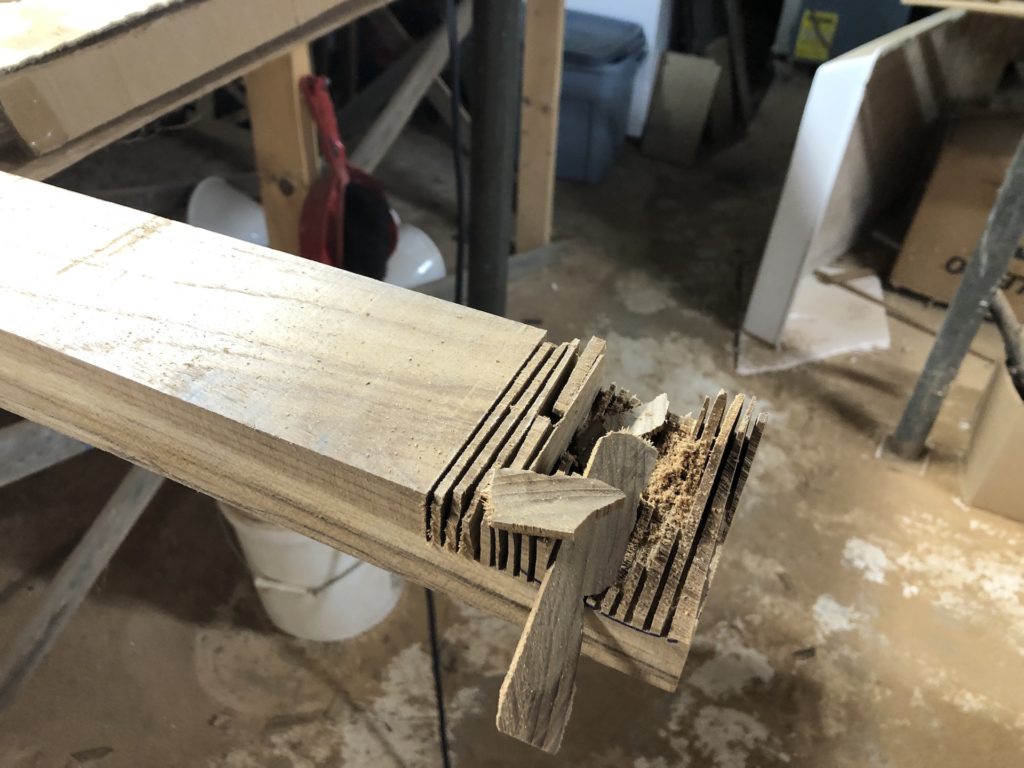
…then clean up with a chisel.
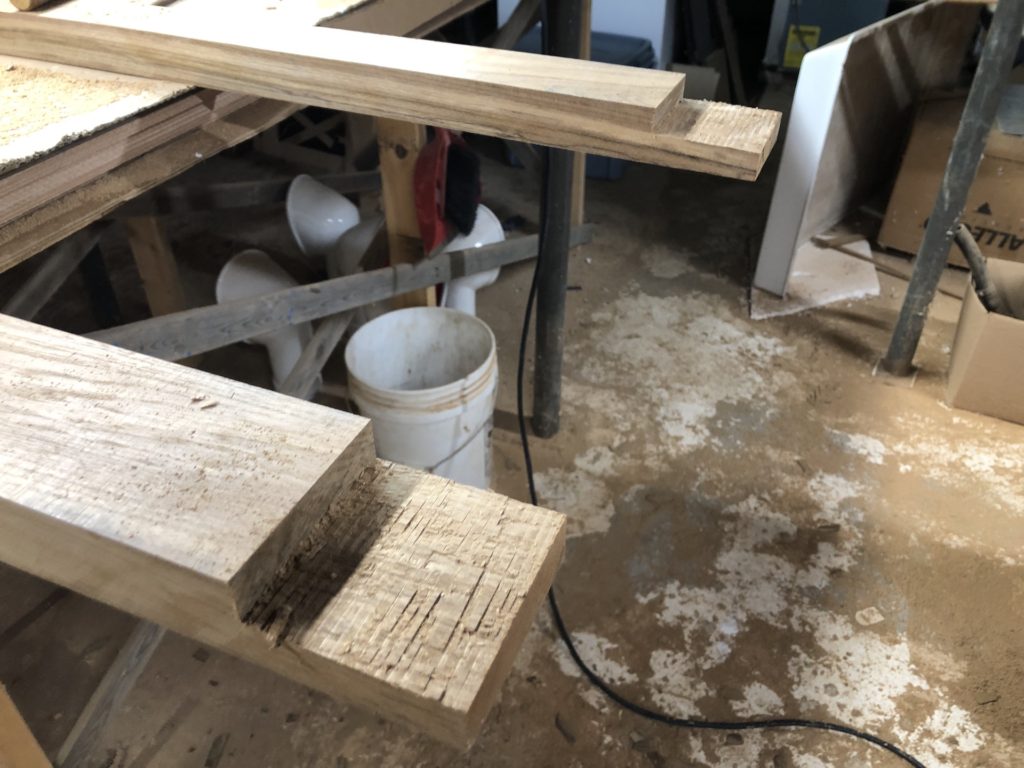
Despite my assertion that “I have just enough teak…” in my last post, I did not, and off to the teak store I went.
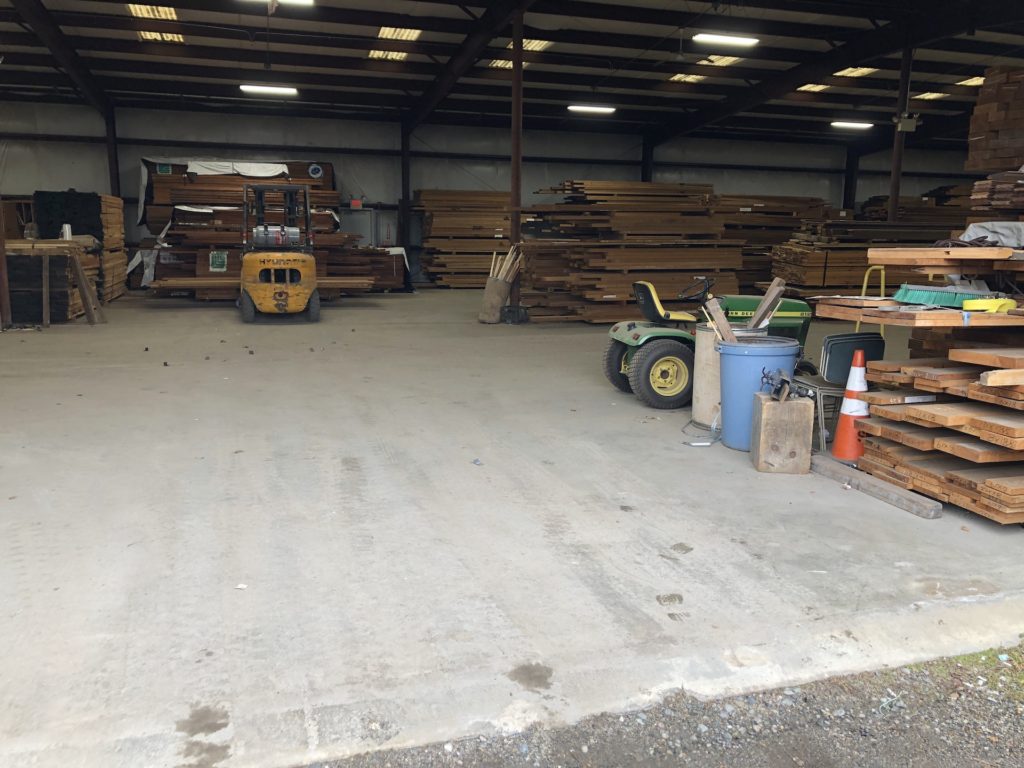
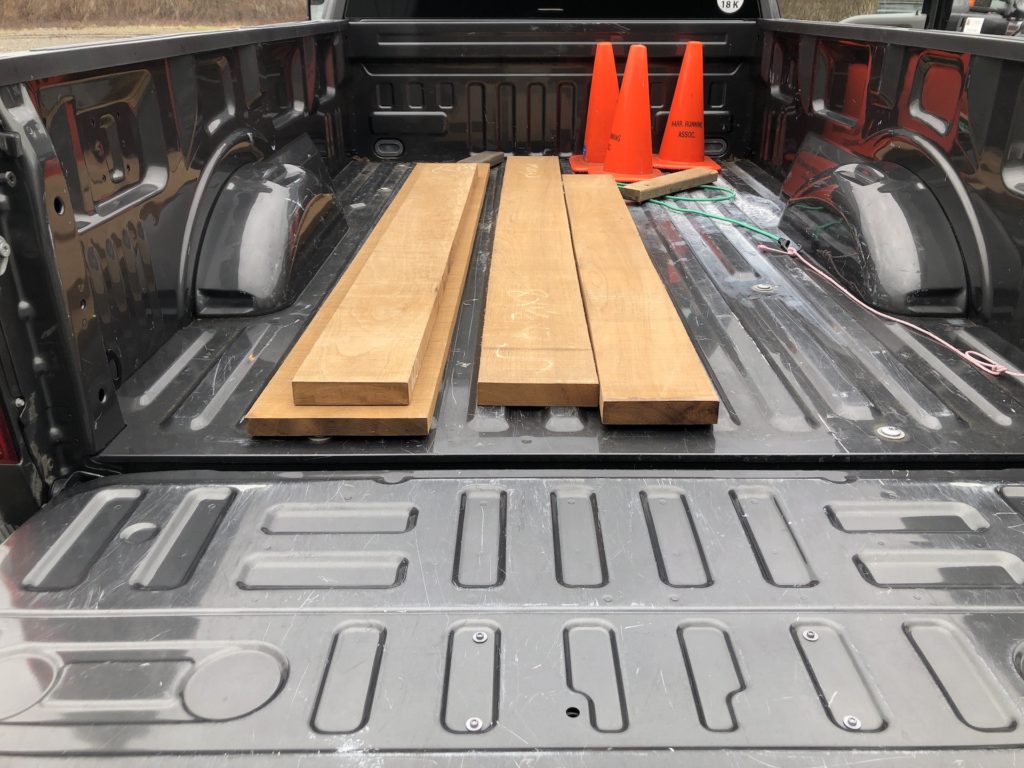
I need just a 3.5-inch slice of one of these boards to finish this job, but more teak projects are looming (e.g., doors, companionway drop-boards).
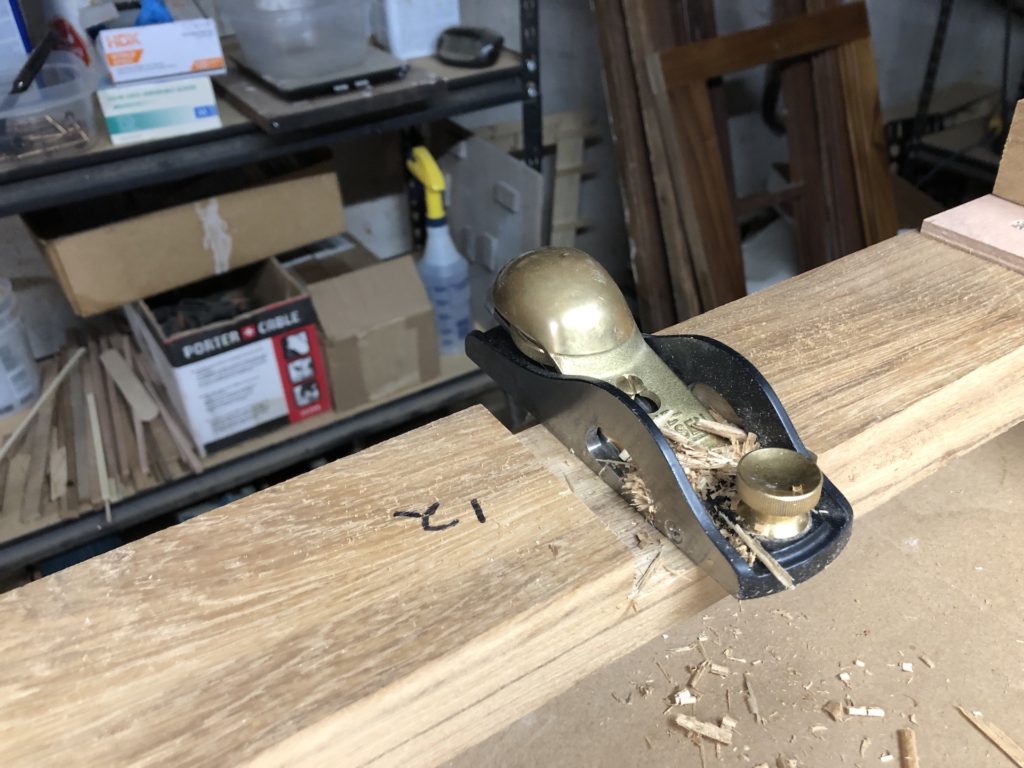
After the joints were cut in the horizontal members I cleaned them up.
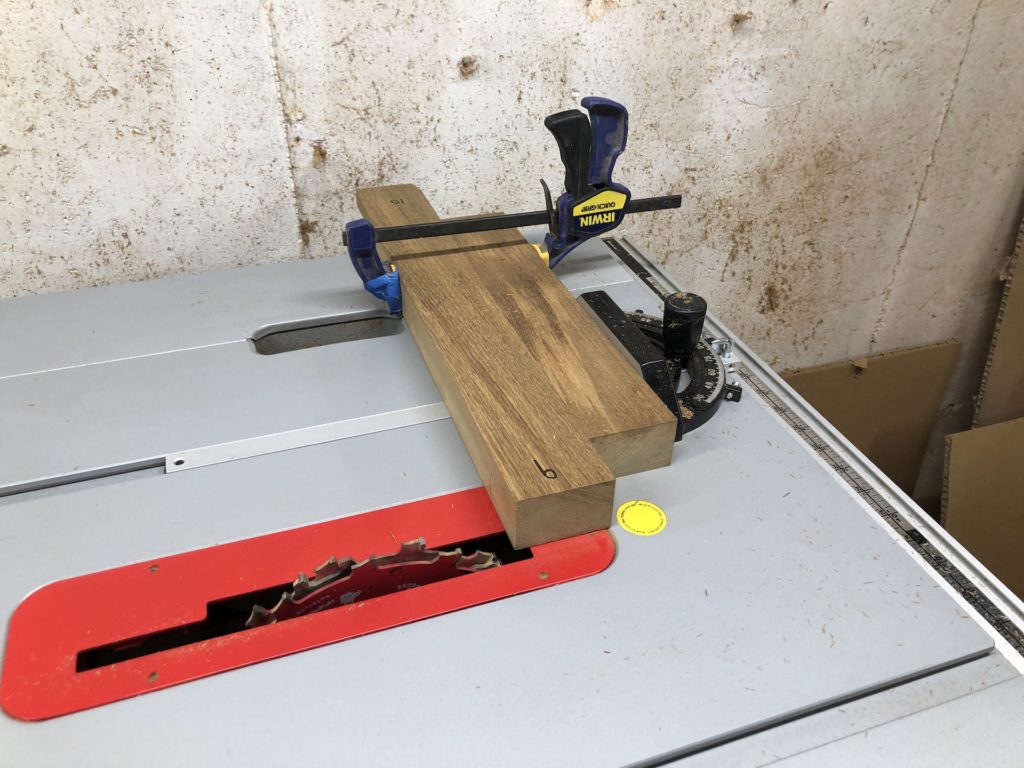
Here’s the stacked-dado set about to be used to cut a joint in one end of a vertical member. The depth has to be just right, so I “sneak up on it” with the first joint by gradually increasing the blade height until a test fit works well. Then I leave it at that height for the remaining cuts. The second piece of teak (on the right) in the photo below prevents tear-out as the blades exit the back end. Tear-out is always a concern when cutting, planing, or chiseling across the grain of the wood.
All the joints are cut…
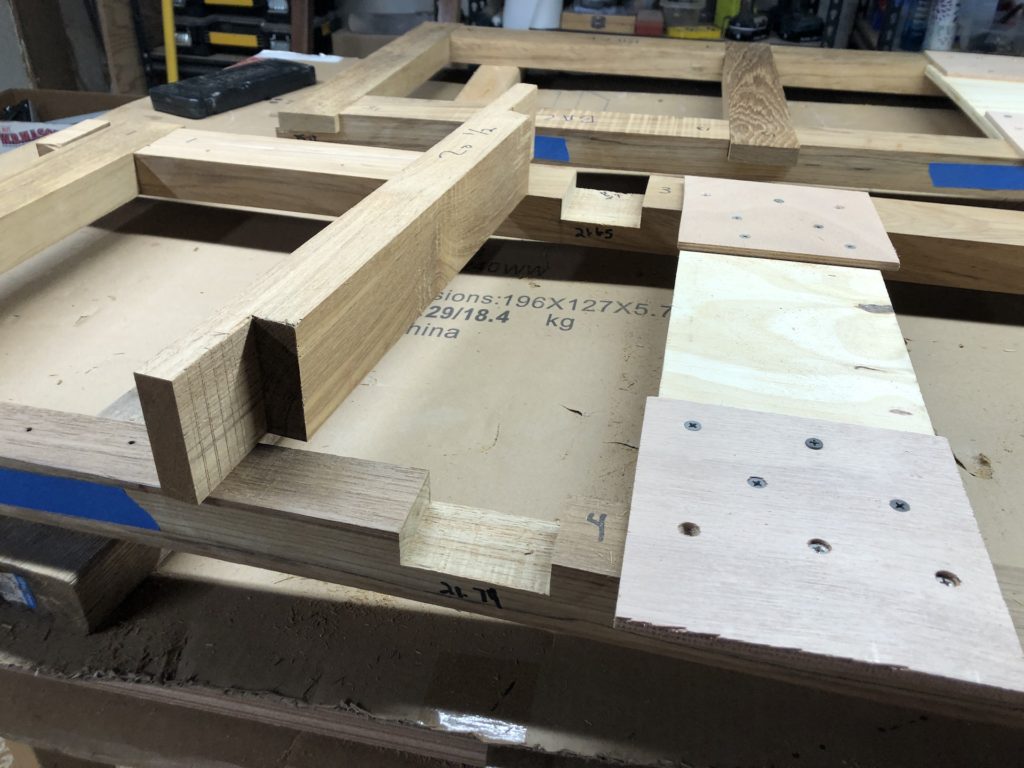
…but the grooves for the sliding doors and compartment fronts must be cut in the long horizontal members before going on. Two grooves each in the top and bottom members, with the depth of the bottom grooves at 1/4 inch and that at the top at 1/2 inch. (If the grooves had precisely the same depth then you could never build a sliding door that could be removed, and you’d have to install the doors before gluing up the piece.
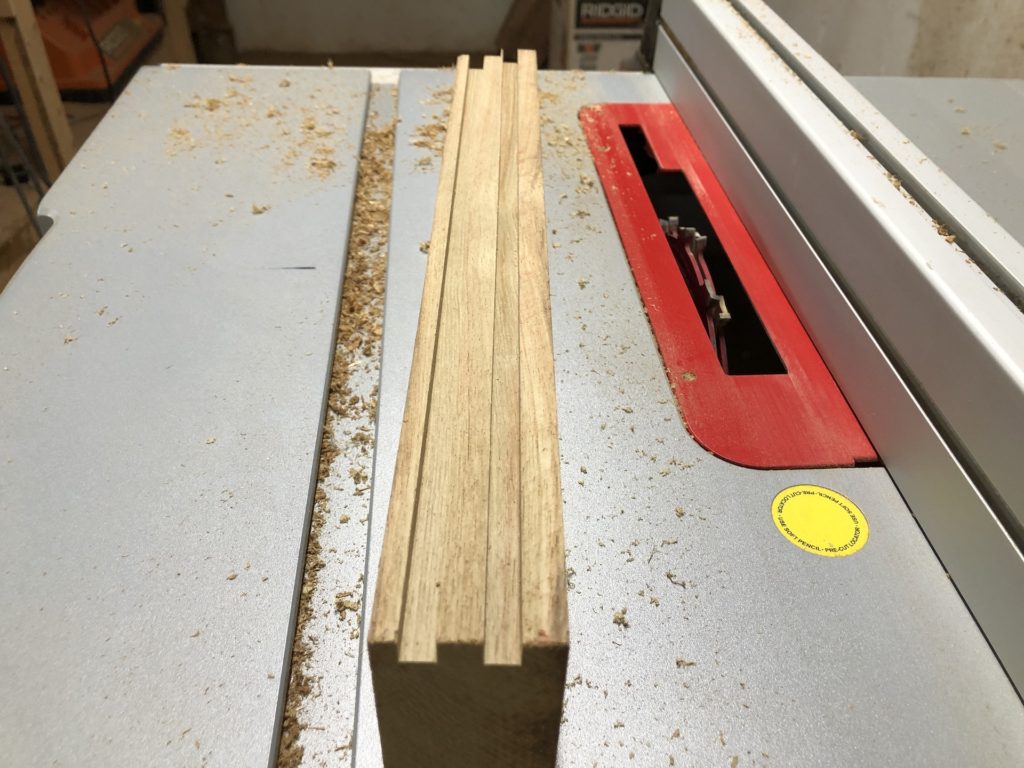
Here the grooves are cut…
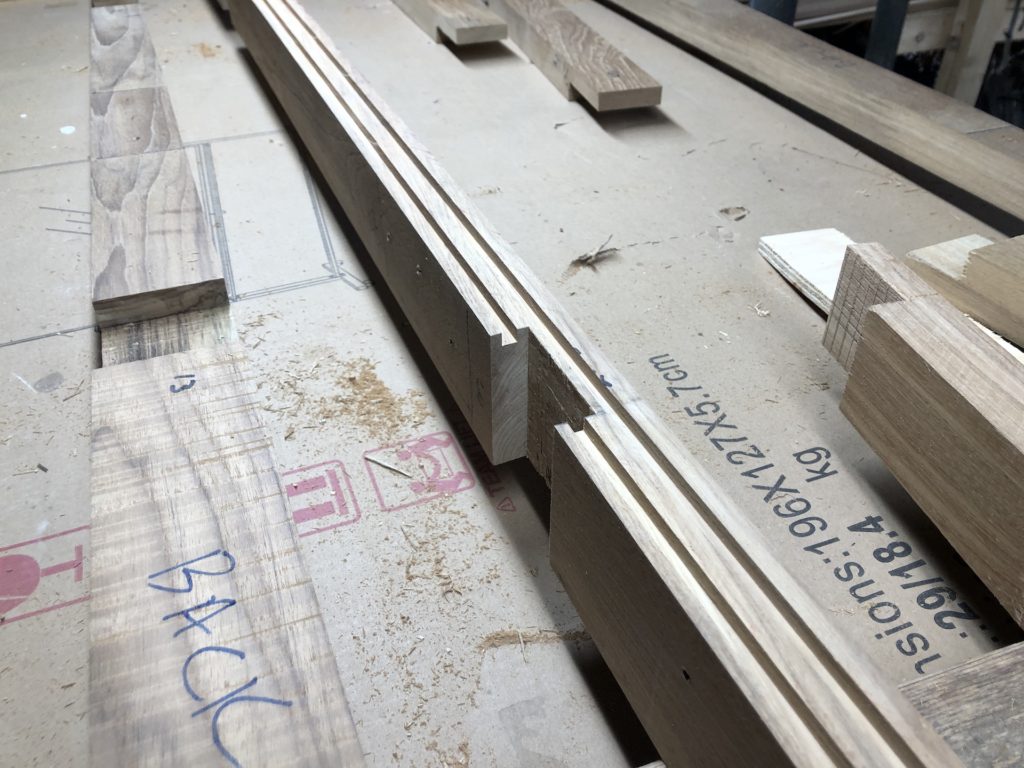
…and some final fine tuning of the joints…
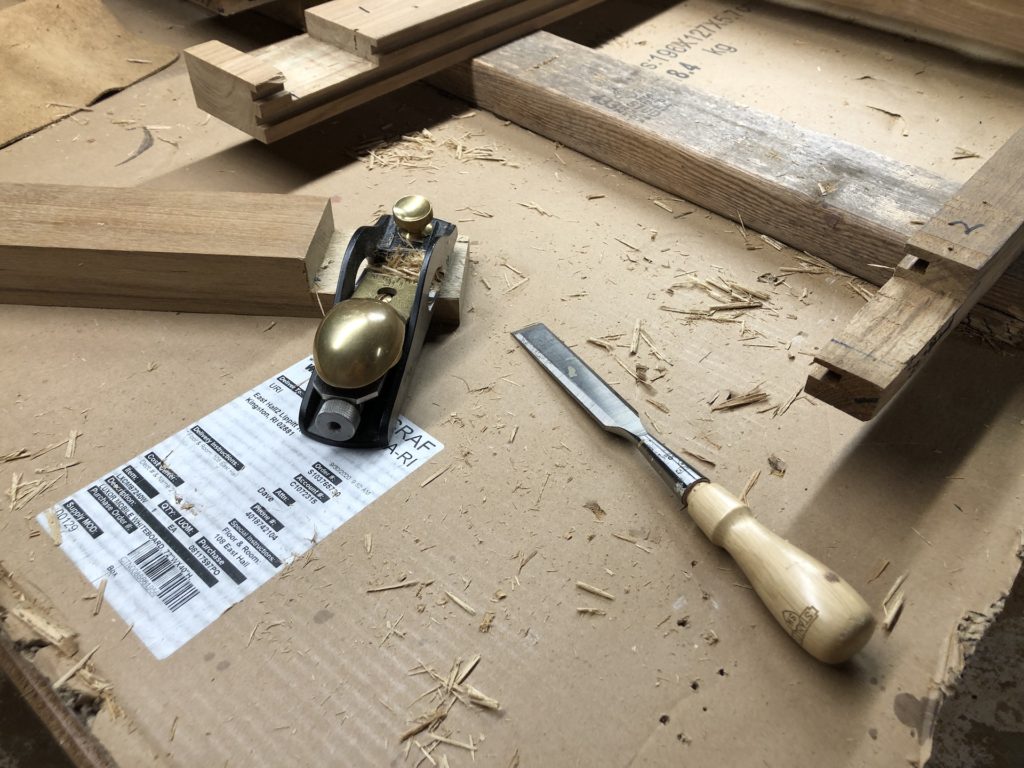
…and we’re ready for glue (thickened epoxy).
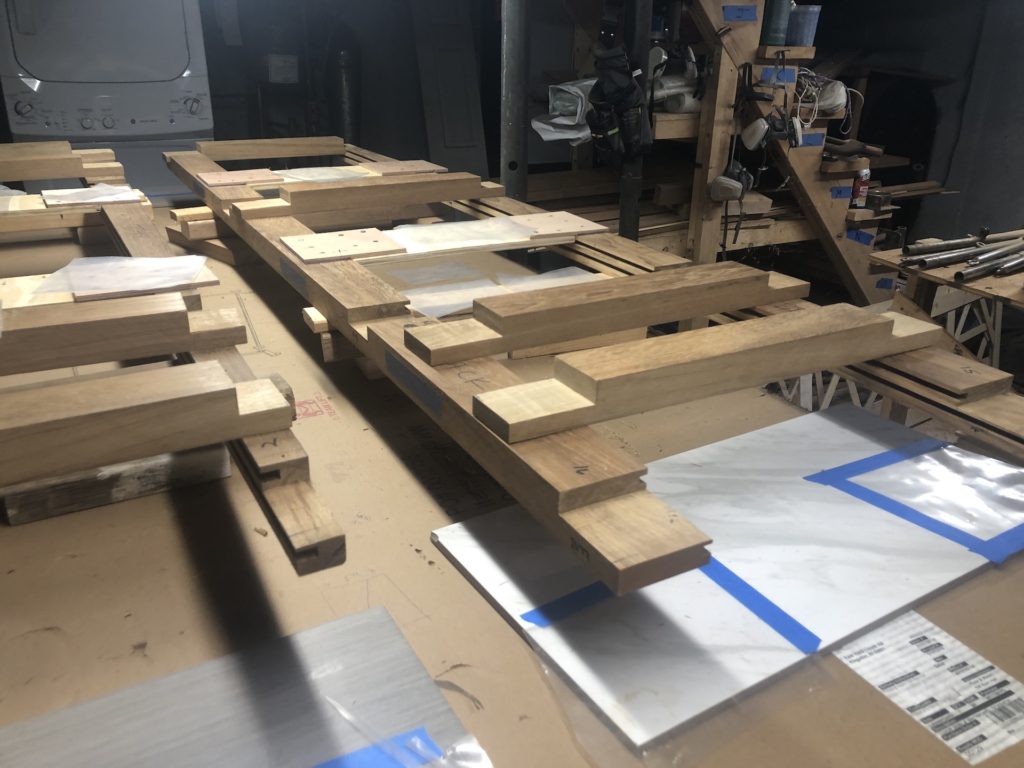
Glue-up included cleaning up any squeeze out where it would be difficult to remove once dry (namely, the grooves).
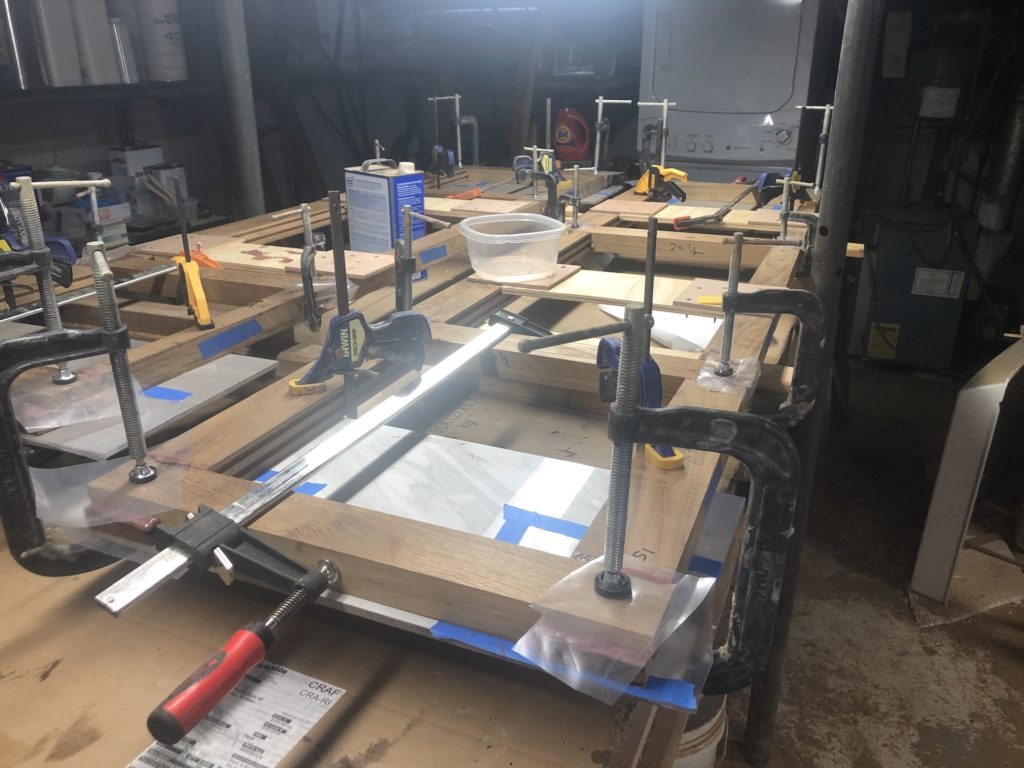
One day later…
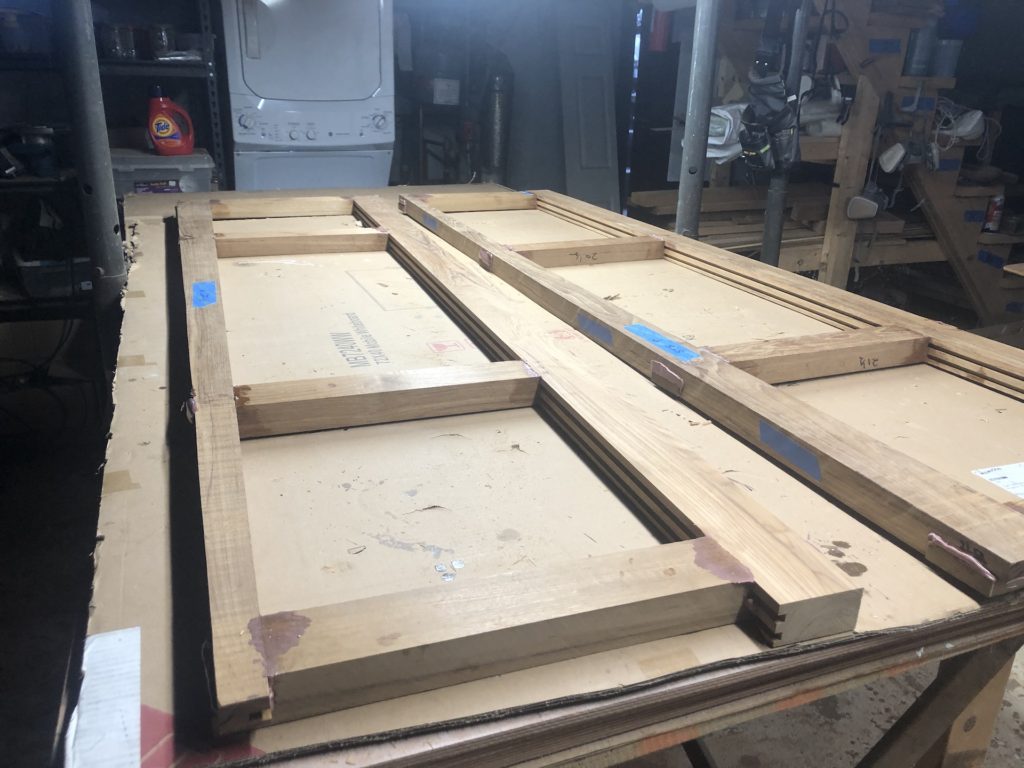
…and they are outside for rough sanding…

…then back inside for finer sanding.
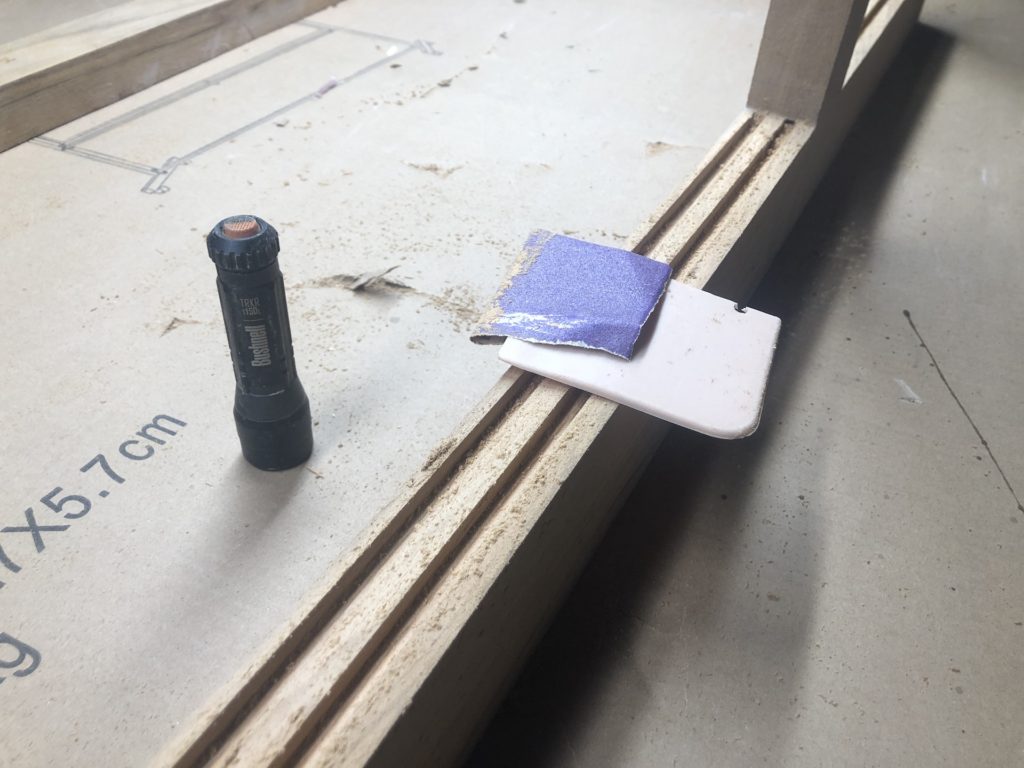
I routed a radius on all the inside, inboard corners, and then they looked like this:

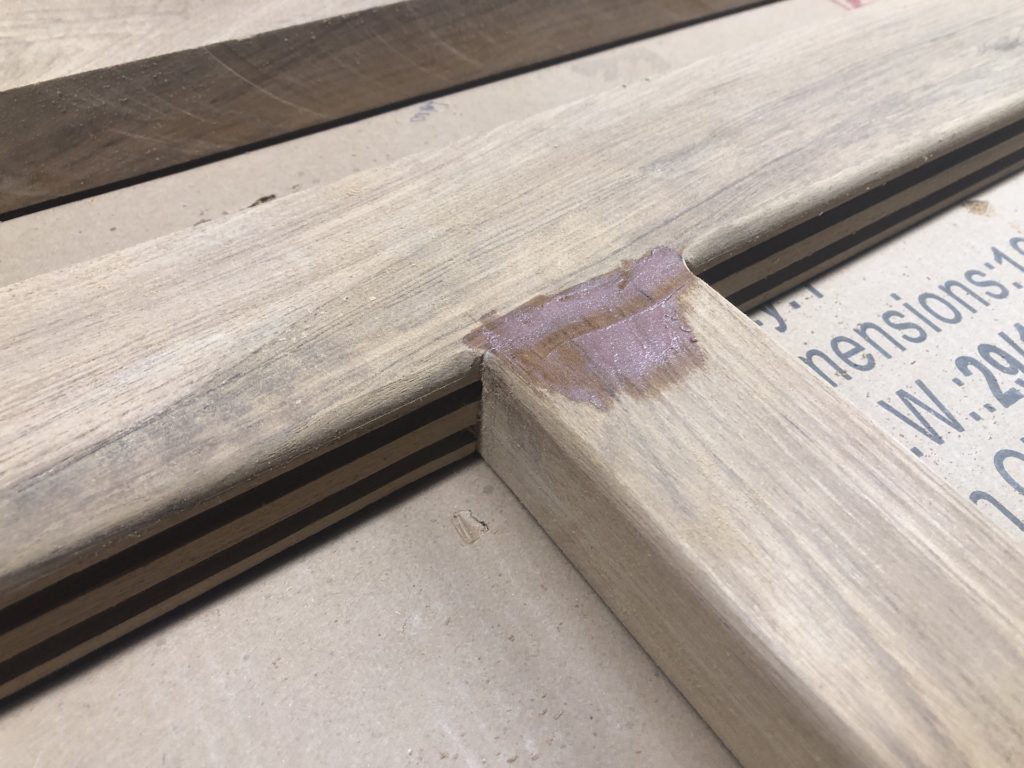
It’s very usual (for me, anyway) to have to fill in a void here and there.
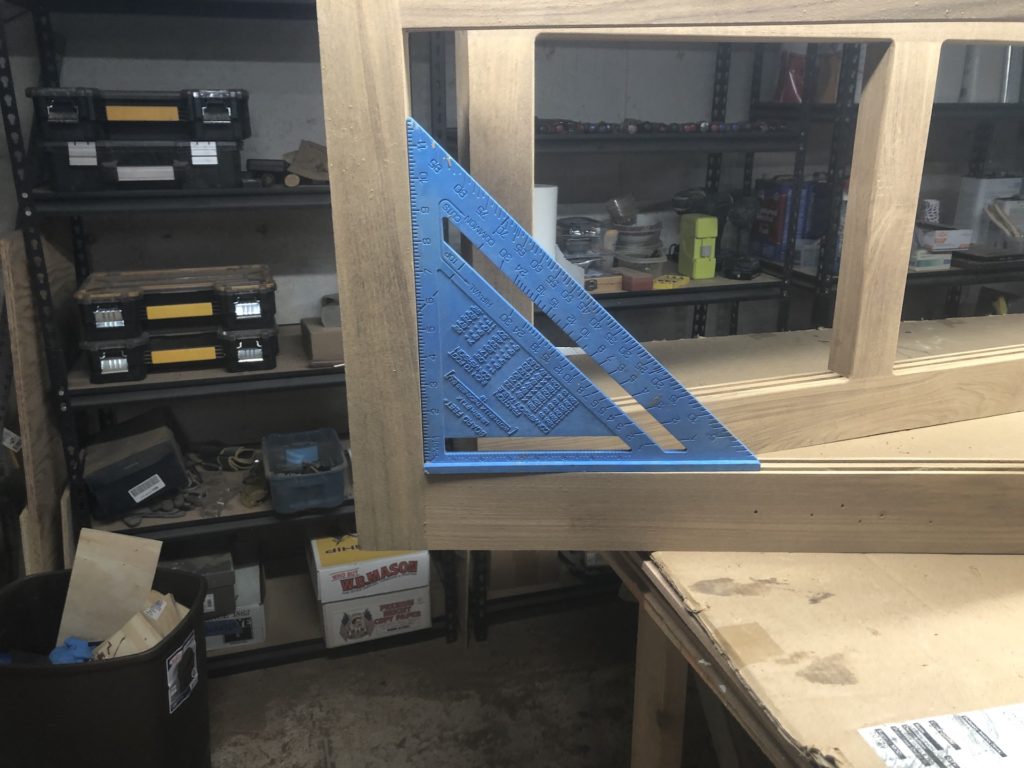
And a quick check establishes that the vertical members are pretty square to the horizontal members:
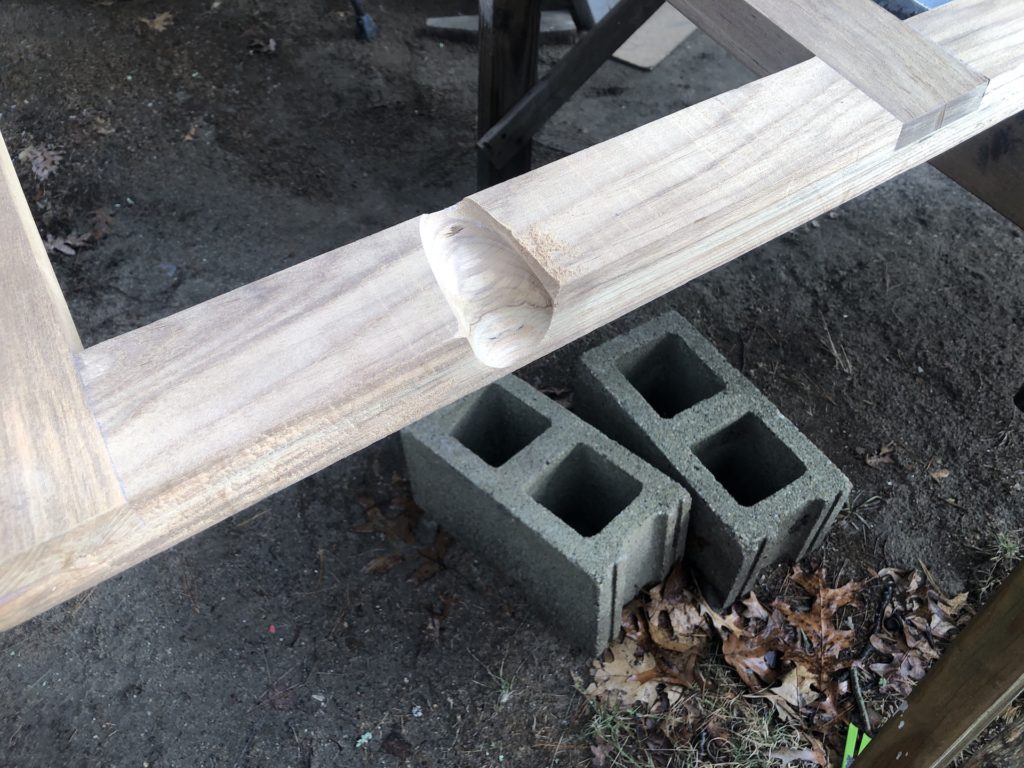
Next came the tedious task of “fitting” the panel, which consists of taking it up to the boat, trying to fit it in its proper place, taking it off the boat, making adjustments (cutting, planing, sanding…), then taking it back up and trying again. I didn’t keep count but I, and a helper, made about 10 round trips. Note the sanded out hollow for the chainplate knee. I was happy that I did not have to cut all the way through.
Finally, it fits. Not the top-inboard end of the chainplate knee poking through. There are small gaps around the edge, but that cannot be helped without an extreme increase in labor. The under-deck is not smooth and the bulkhead has tabbing, so there are no straight lines. It looks fine.
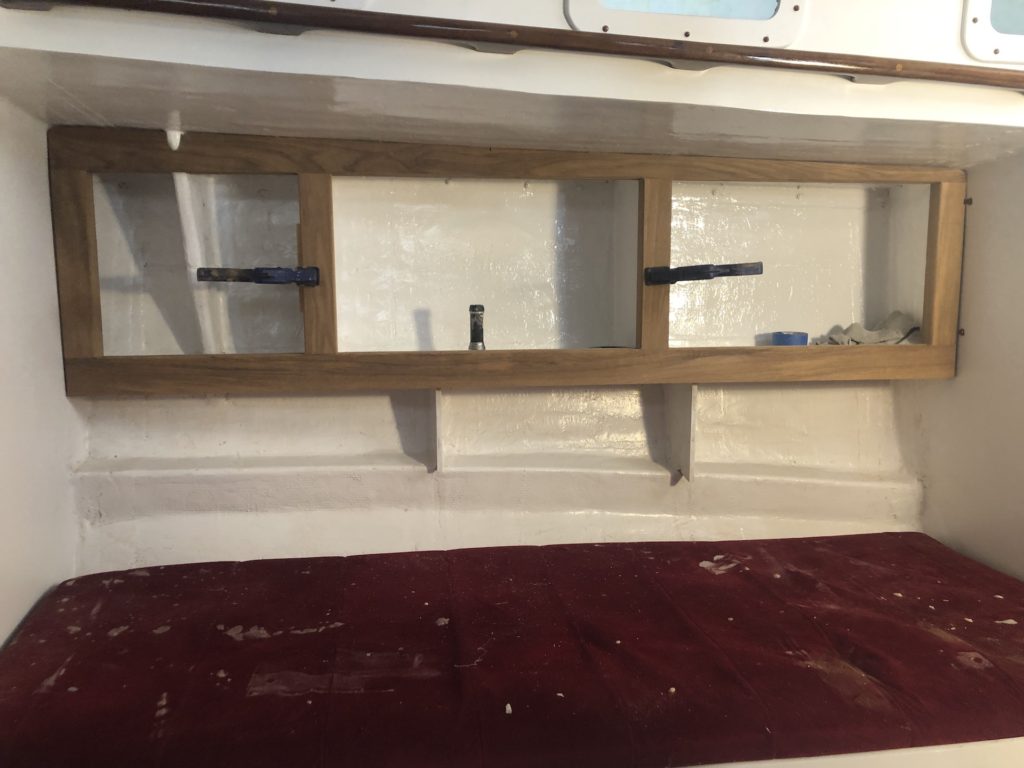
Here is the port side:
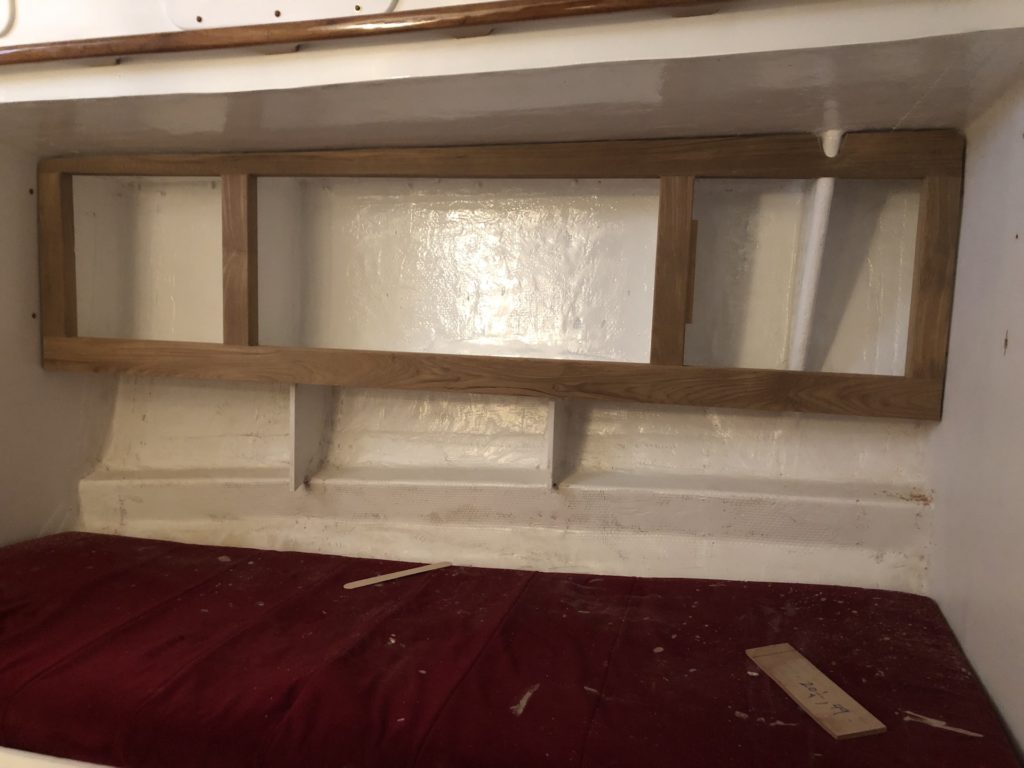
Next, I prepared to make the sliding doors and panels. First the panels were cut oversized.
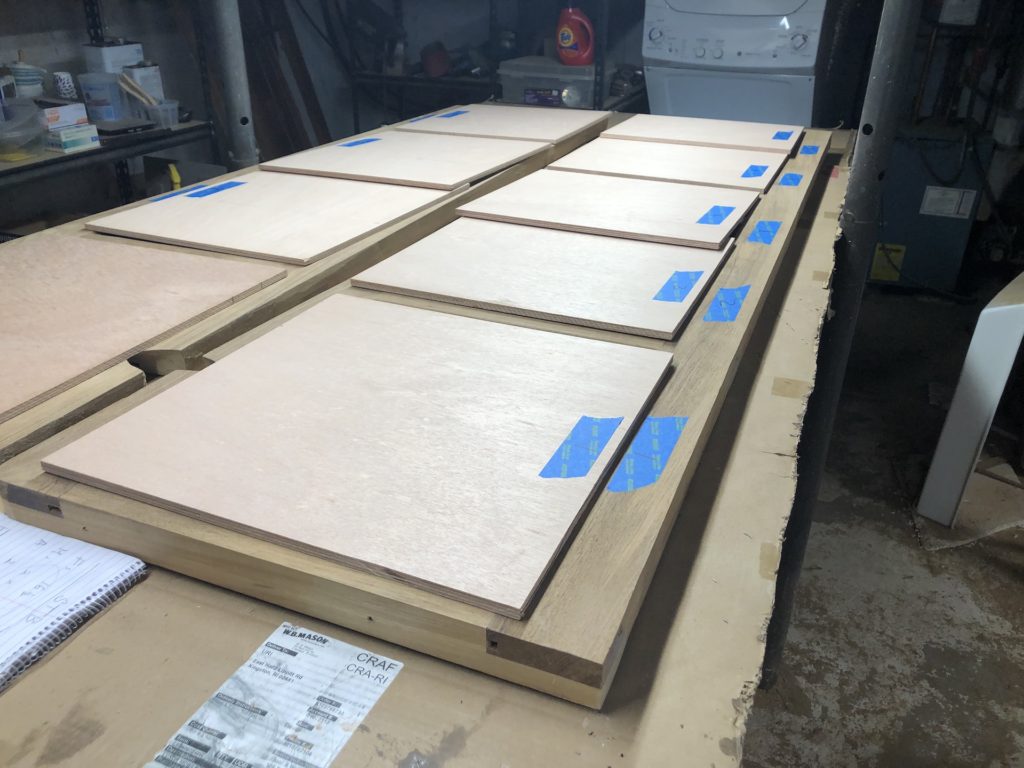
Then I cut rabbets on the upper and lower edges. These edges slide in the grooves.

The panel height must be about 1mm less than the opening height plus the depth of the upper groove. In this case, you slide the panel in the top groove until the bottom of the panel clears the bottom rail, then pop it in.
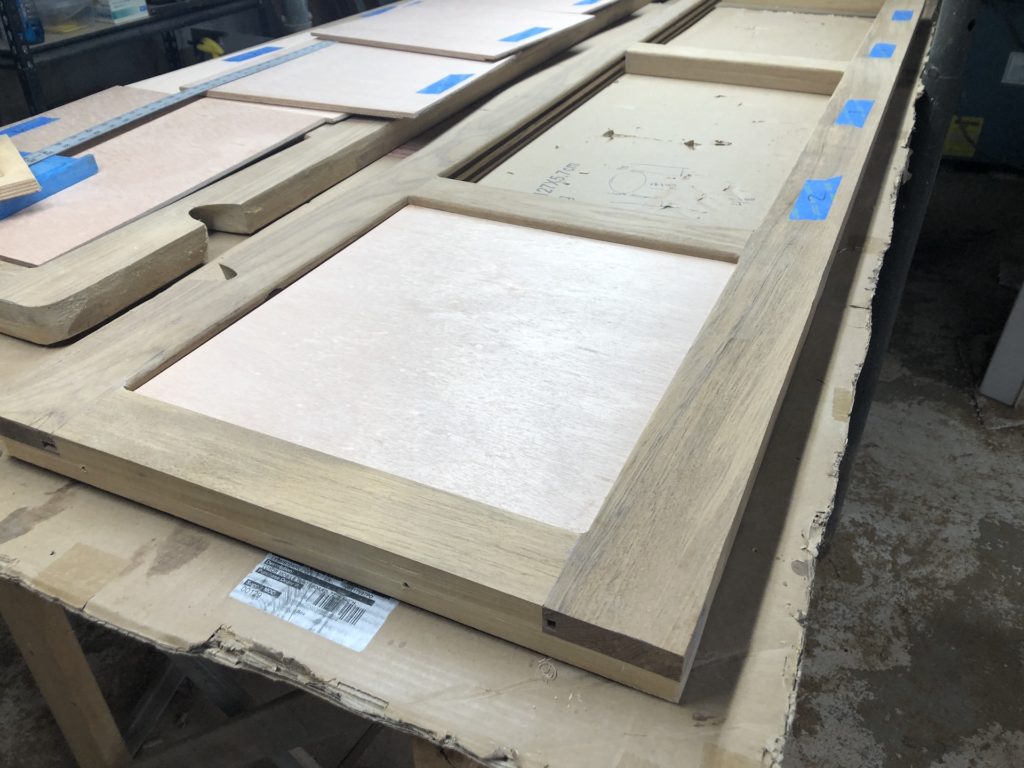
There are six sliding doors and three panels. The panels were cut to barely fit in the horizontal width of the opening, and will utilize the inboard set of grooves.
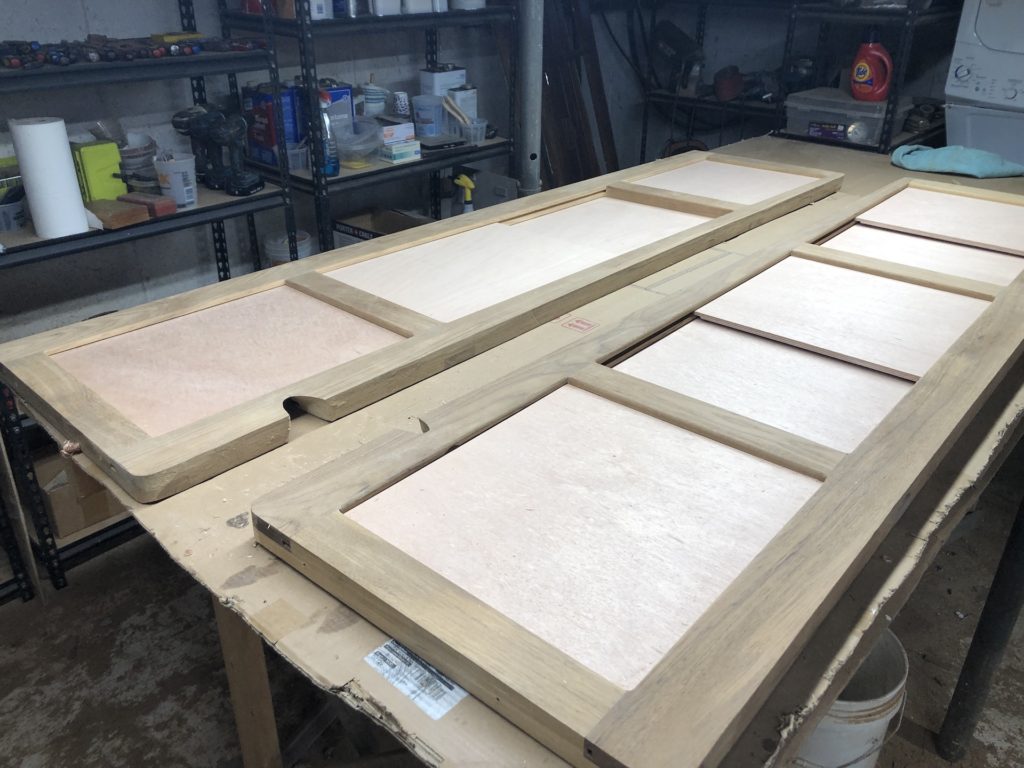
The sliding doors each contain four holes for ventilation and for grabbing with a finger and sliding. Two panels have just one opening, and the one below has four.
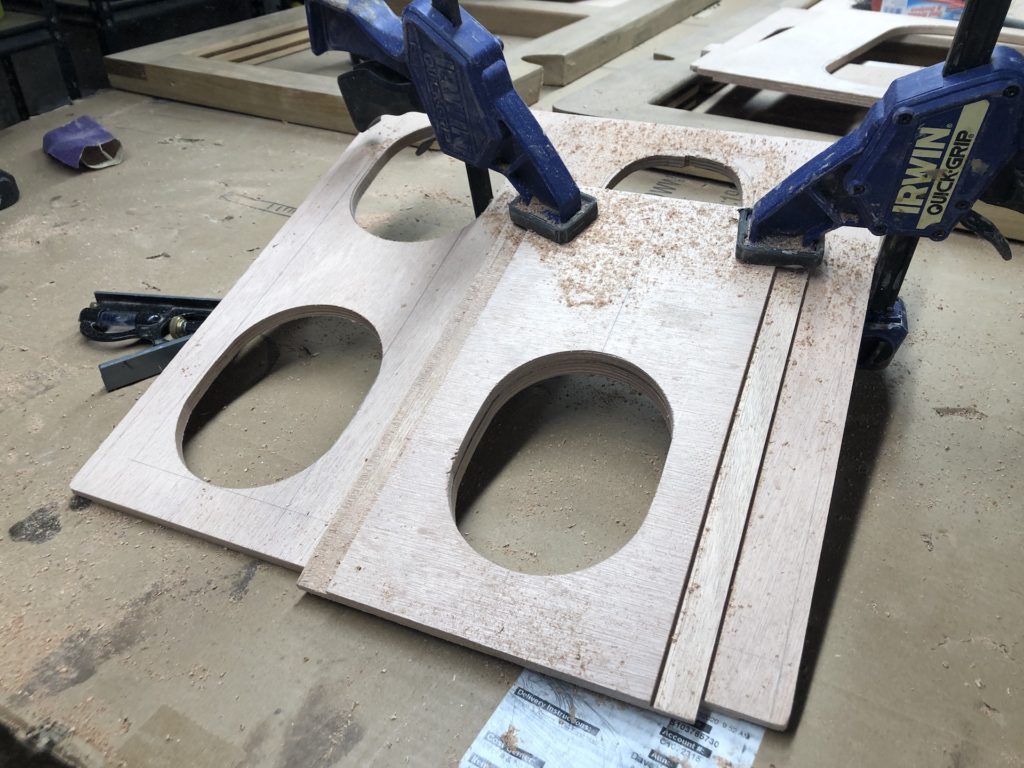
Below is the port-side. Aft is a panel with four openings. The space behind it will be partitioned into four smaller compartments. My current thinking is that these will always be empty, except when there are guests/crew, in which case each crew-member gets one for small items, like phone, purse, wallet, hat, sunscreen, etc.
The middle is the largest compartment on either side, accessible by two sliding doors. This will be partitioned into two levels by a shelf, and perhaps partitioned further as need dictates.
The space behind the forward section contains a chainplate knee, which compromises the utility of the space somewhat. I think, though, that I could build a two- or three-bottle wine rack in there. Stay tuned.
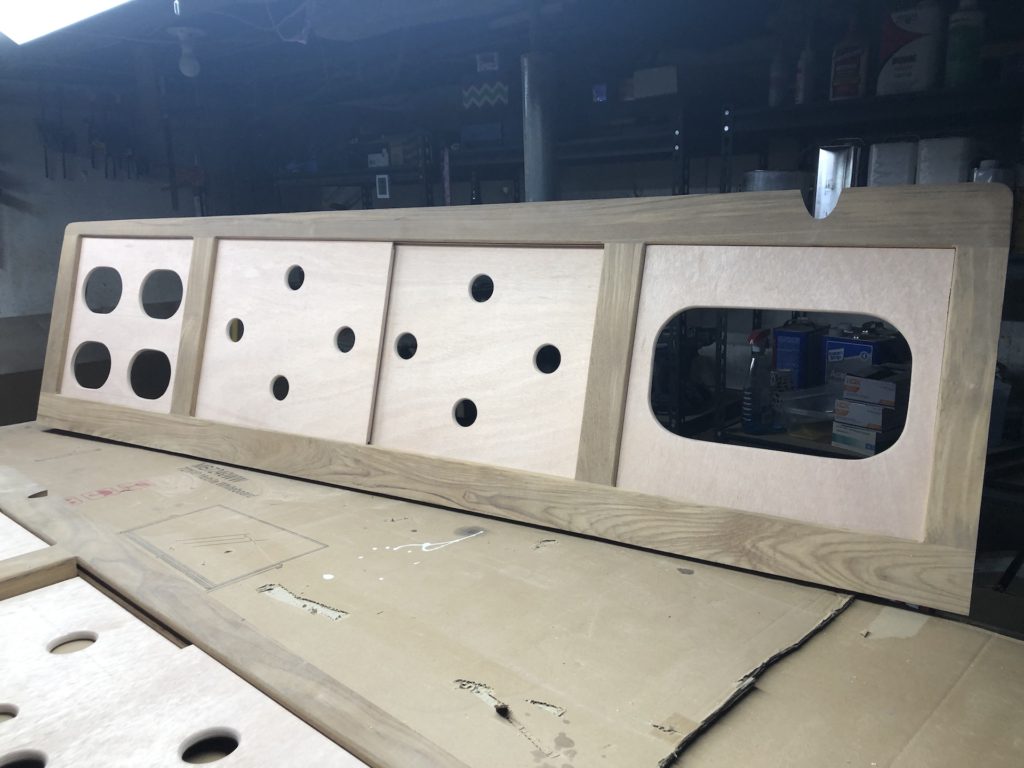
Now the starboard side. Forward, two or three more bottles of wine. The two after compartments each open with two sliding doors and are the same size. Need will dictate how these will be partitioned, but at a minimum a shelf in each to make two levels.
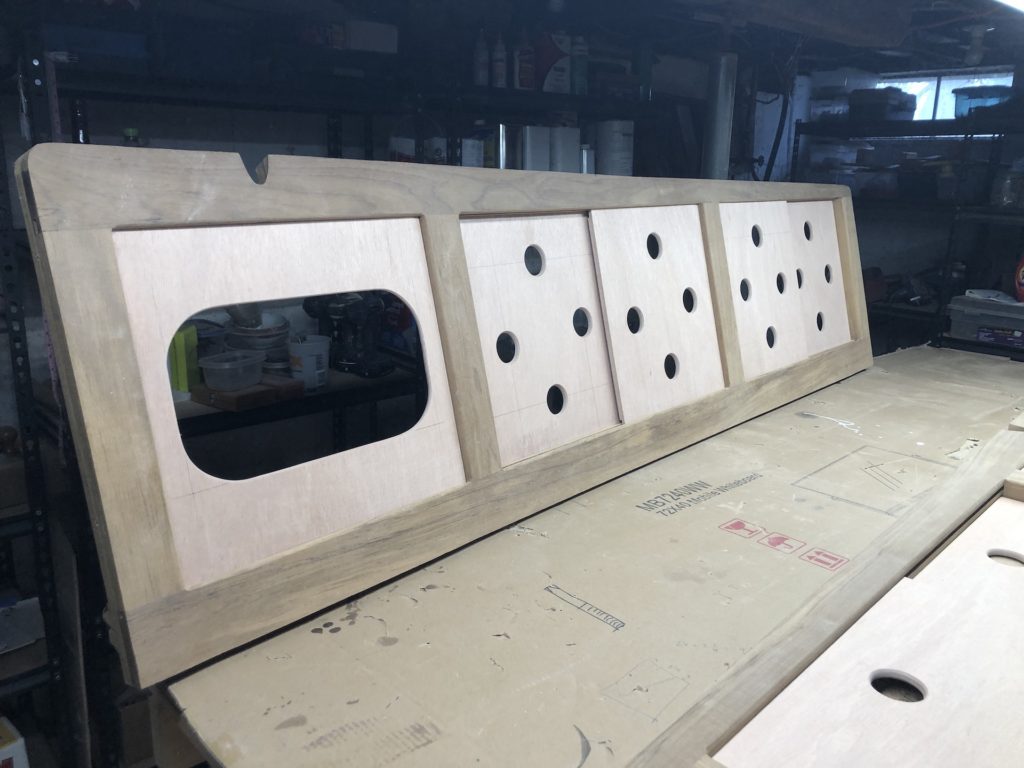
One coat of primer on the panels and doors:
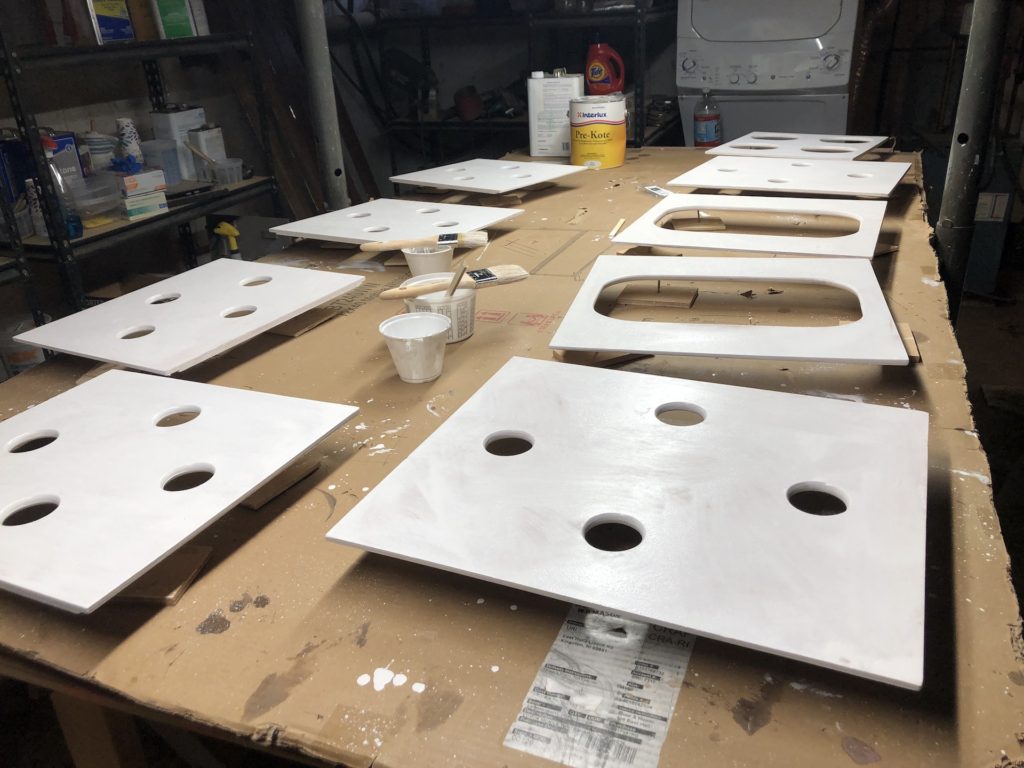
Some final sanding before…
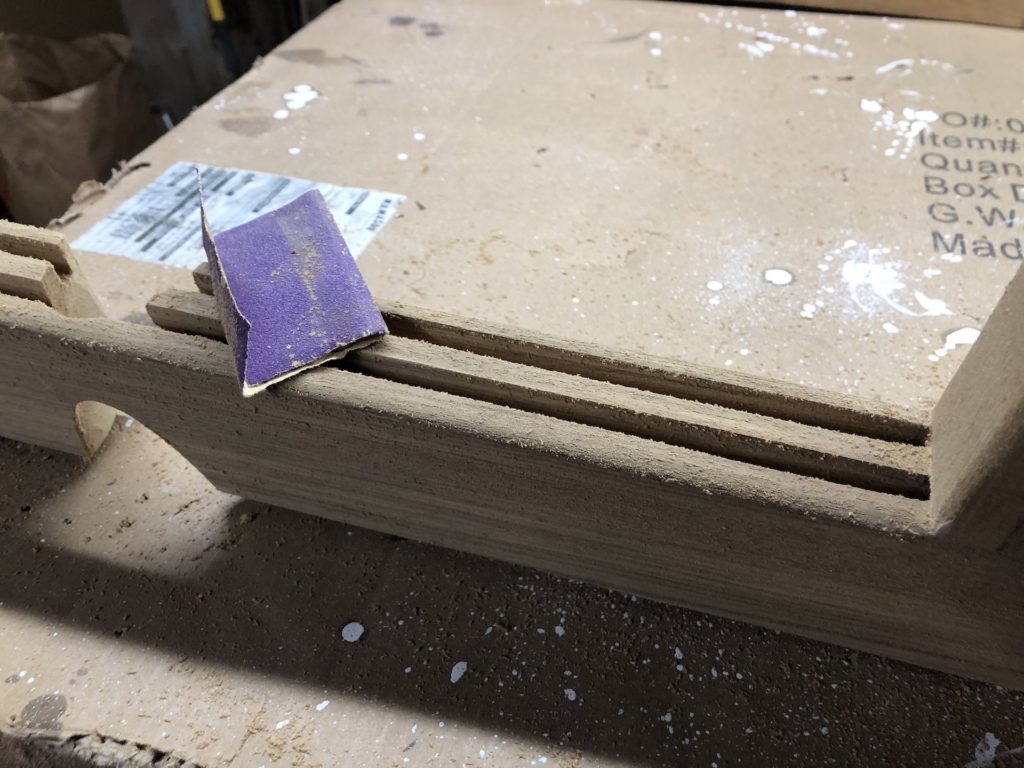
…first coat of varnish.
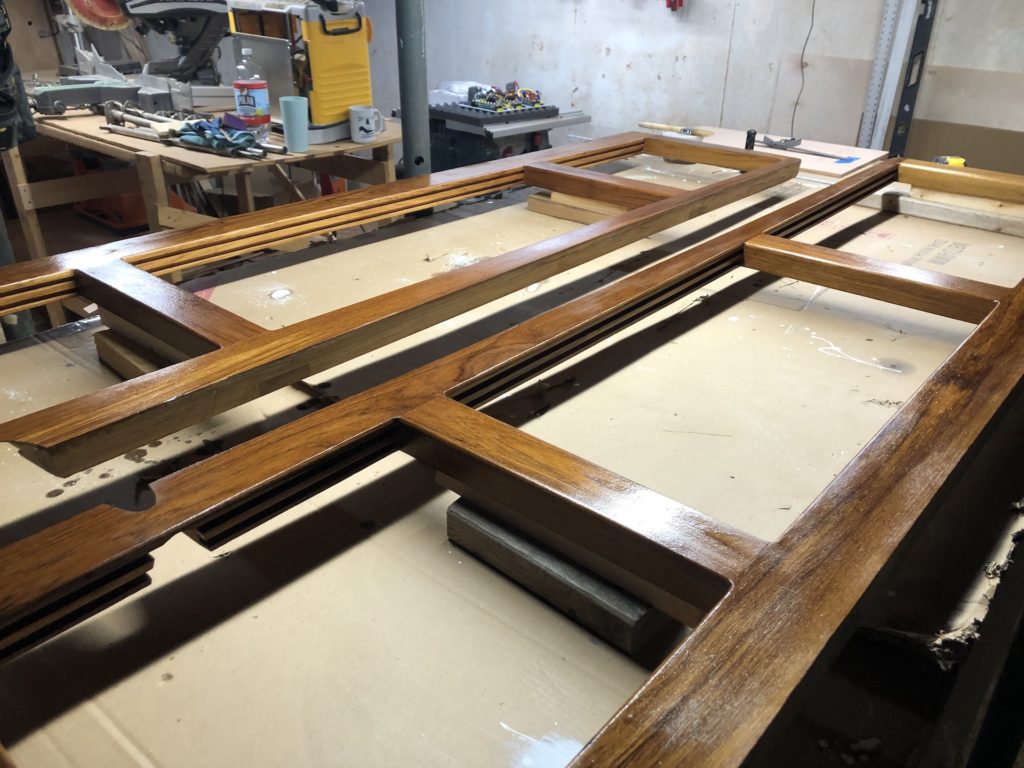
About 48 hours later, and one coat of paint on the panels and doors, back up to the boat for a look, and to begin considering other issues. There will be at least two more coats of varnish on the teak, and one more coat of paint on the panels and doors.
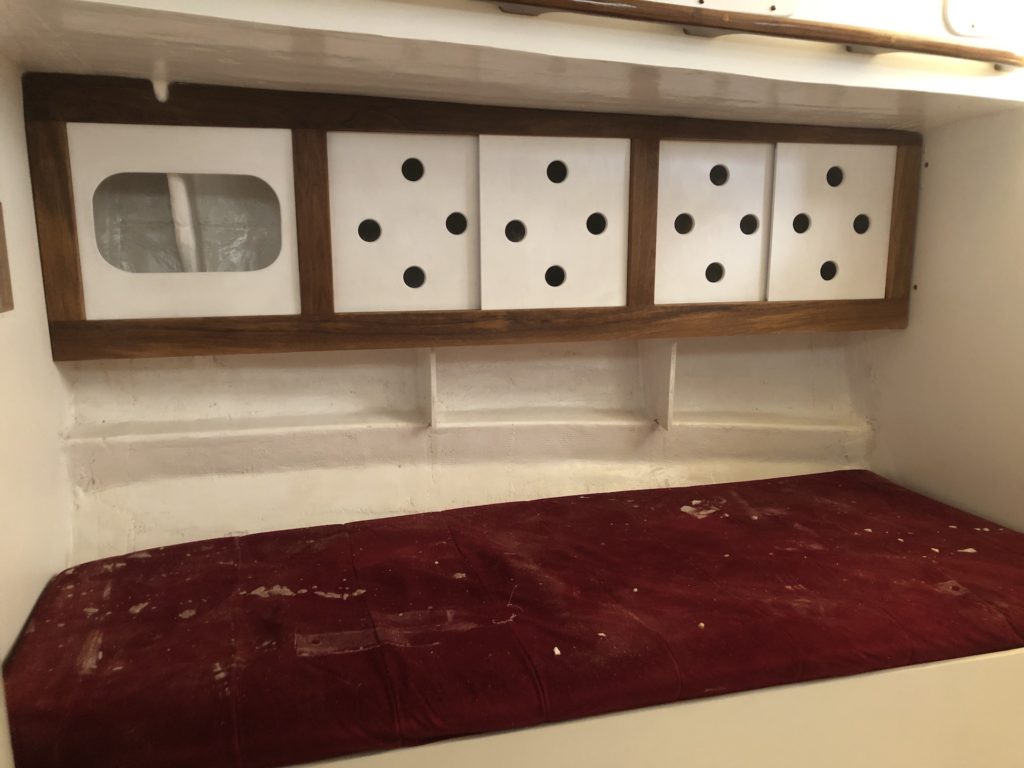
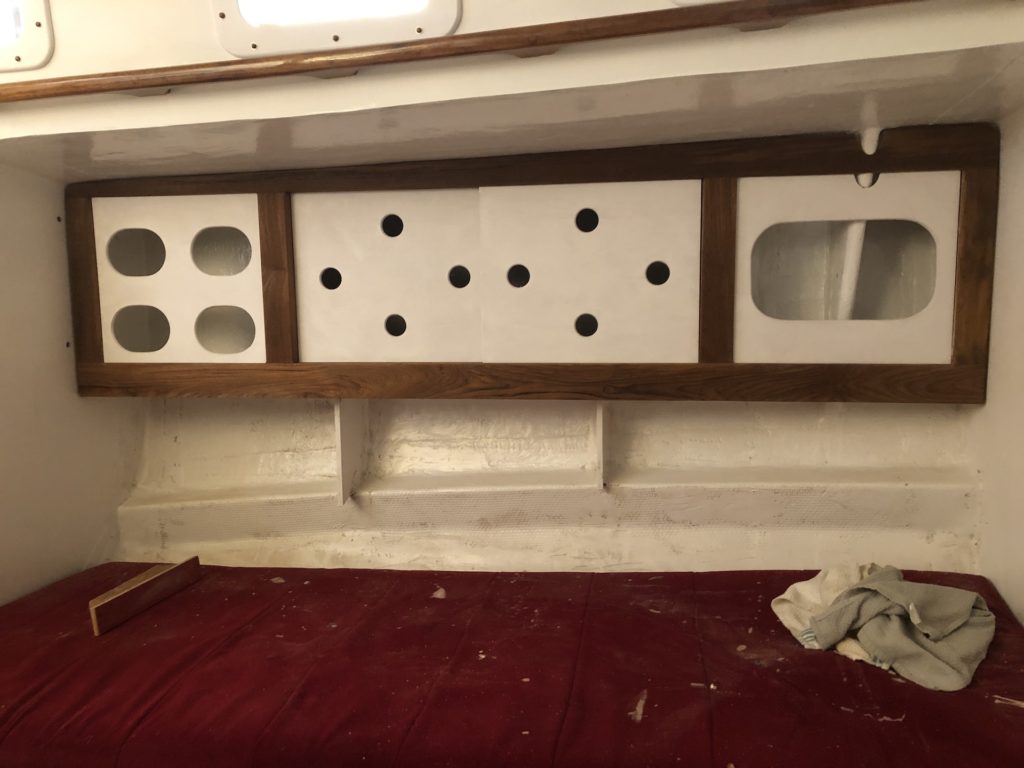
The next issue to consider is the backrests for the settee. Stay tuned.
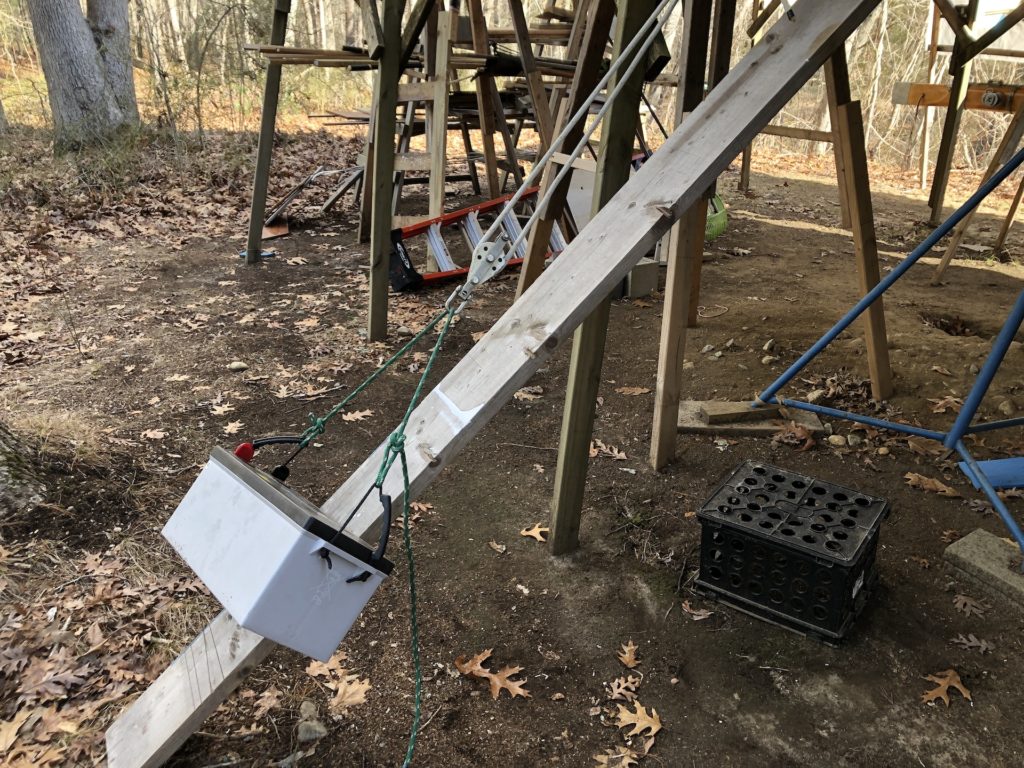
Meanwhile, work began on the electrical system. The first task was to get the two house batteries (130 lb each) and the starter battery (68 lb) into the boat.
Batteries will be built into boxes, and will live under the settees, with plenty of extra space for wiring, switches, etc. Here, the starboard side, has a house battery in the forward compartment, and the starting battery just aft in the middle compartment.
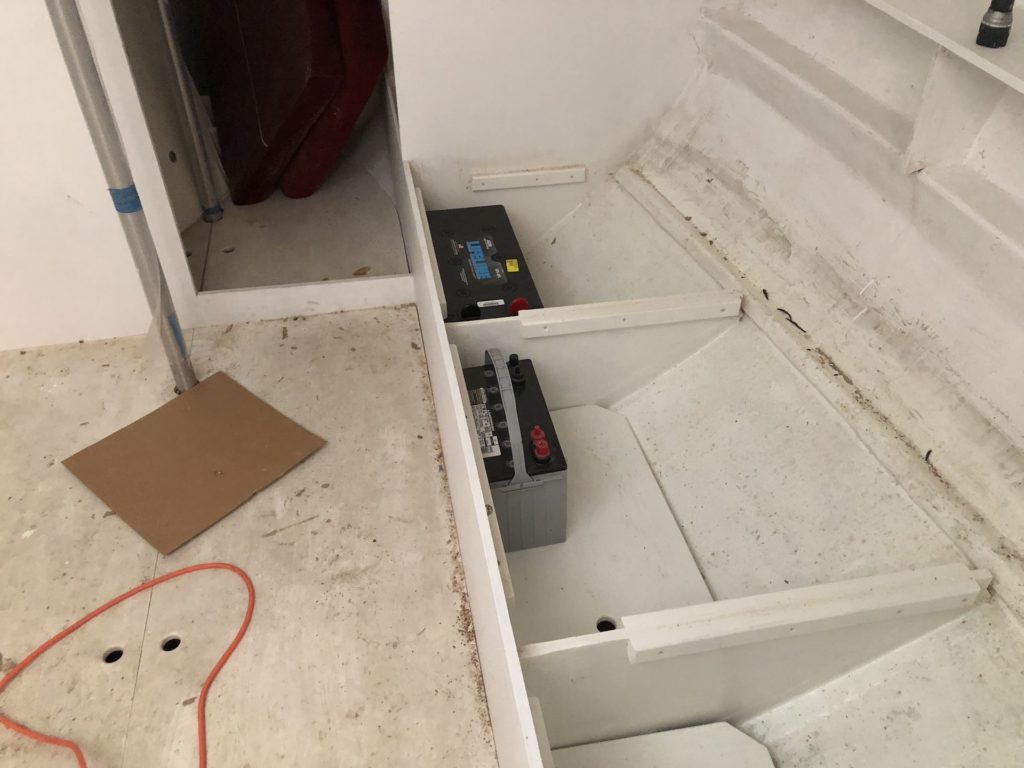
On the port side is the other house battery forward, and the inverter in the middle. On the advice of my marine elecrician/mechanic I will be moving this house battery to the starboard side to live near the others, which will facilitate wiring.

The new electrical panel can be wired for 18 DC circuits and 6 AC circuits. It is delivered with 12 DC and 3 AC, which might be enough for all the electrical systems.
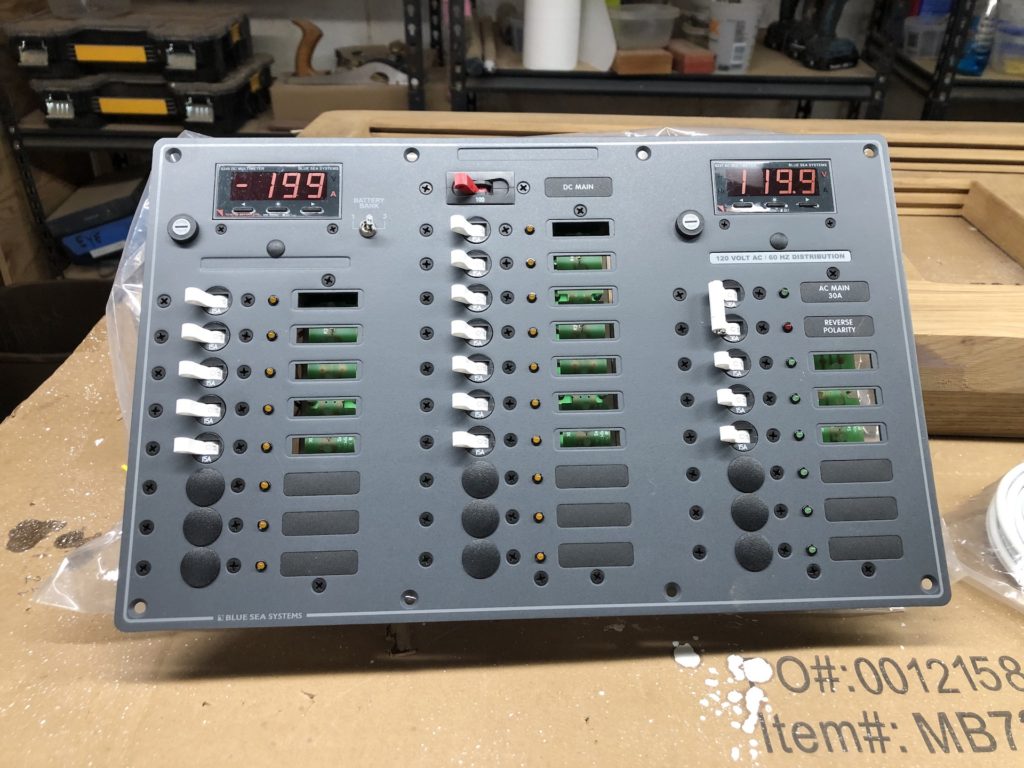
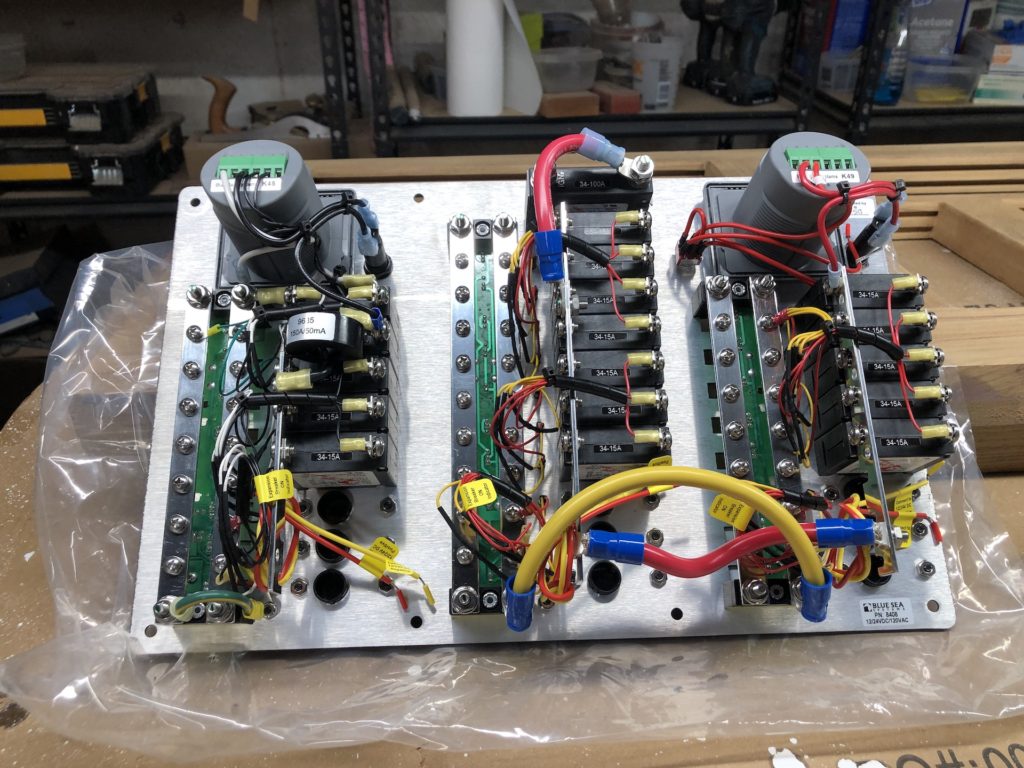
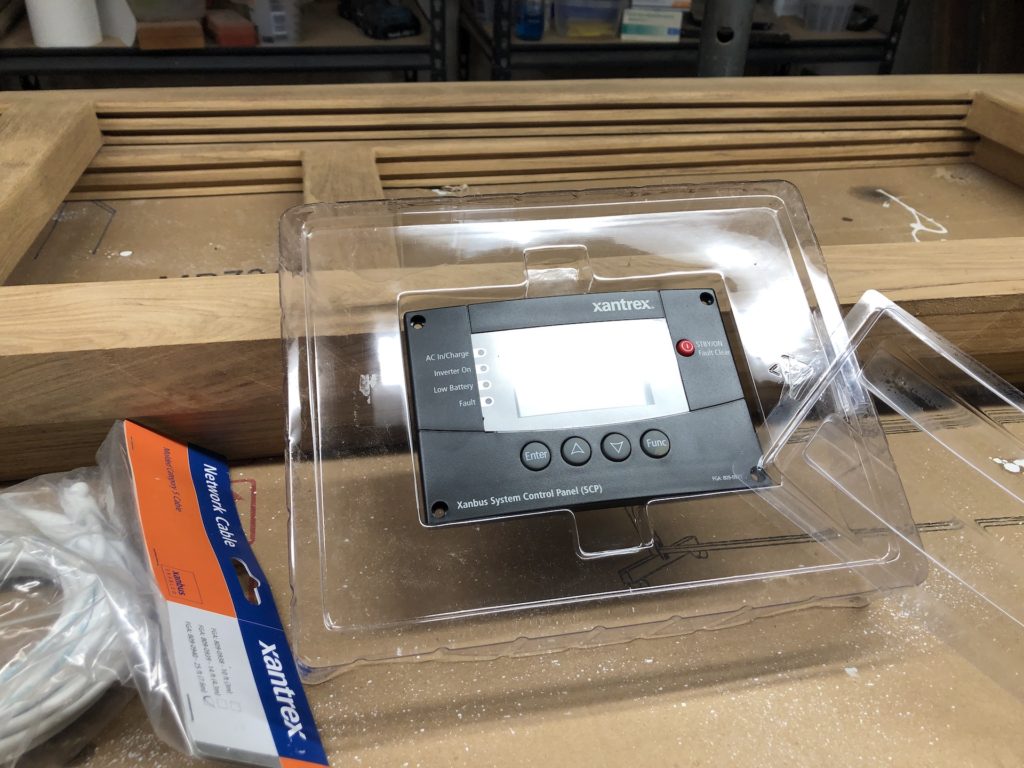
This little panel controls the inverter. More on that some other time.
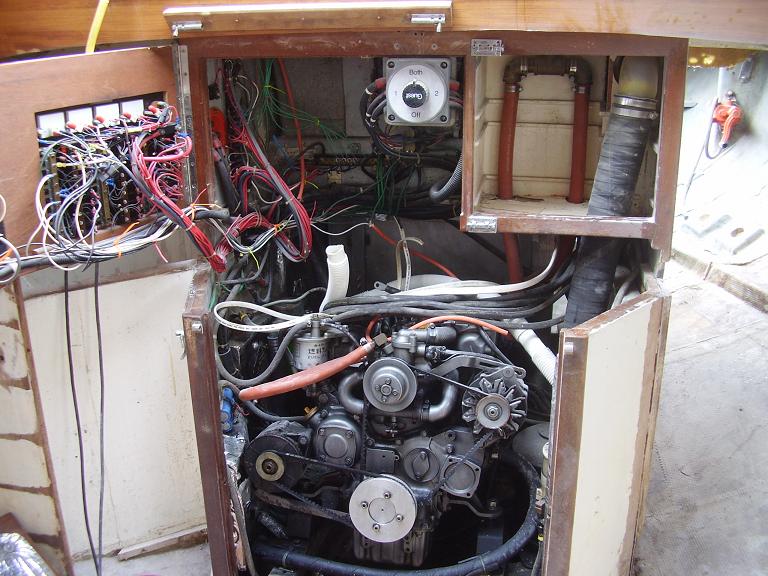
The panel location is important. It must be easily seen and within an easy reach. It must be protected and kept dry. Here is an old picutre, which shows that the original panel location was the door behind the companionway steps that opens to the engine compartment. Being on a swinging door meant that wires needed more slack than in a static installation.
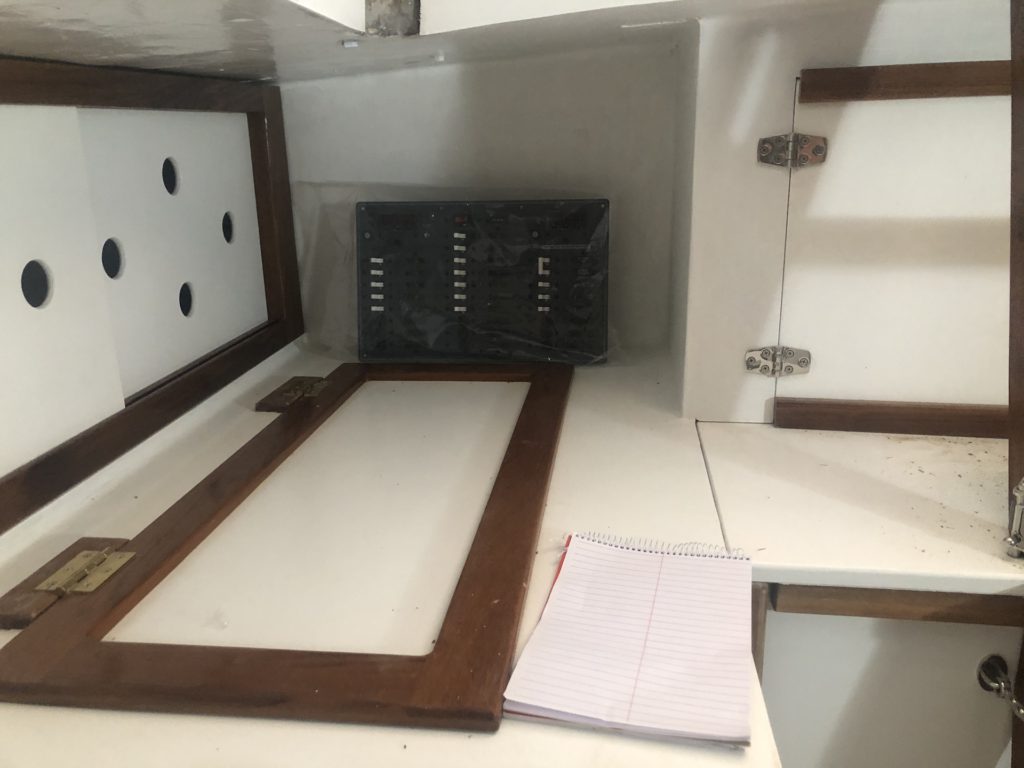
I considered the following panel locations. Starboard side galley, aft of icebox. Bulkhead mounted means static wiring, but back of the panel accessible only by cockpit locker.
Here it leans against one of the two swinging doors that opens to the engine compartment. Easily accessible, but swinging door issues and wiring all over the engine compartment.
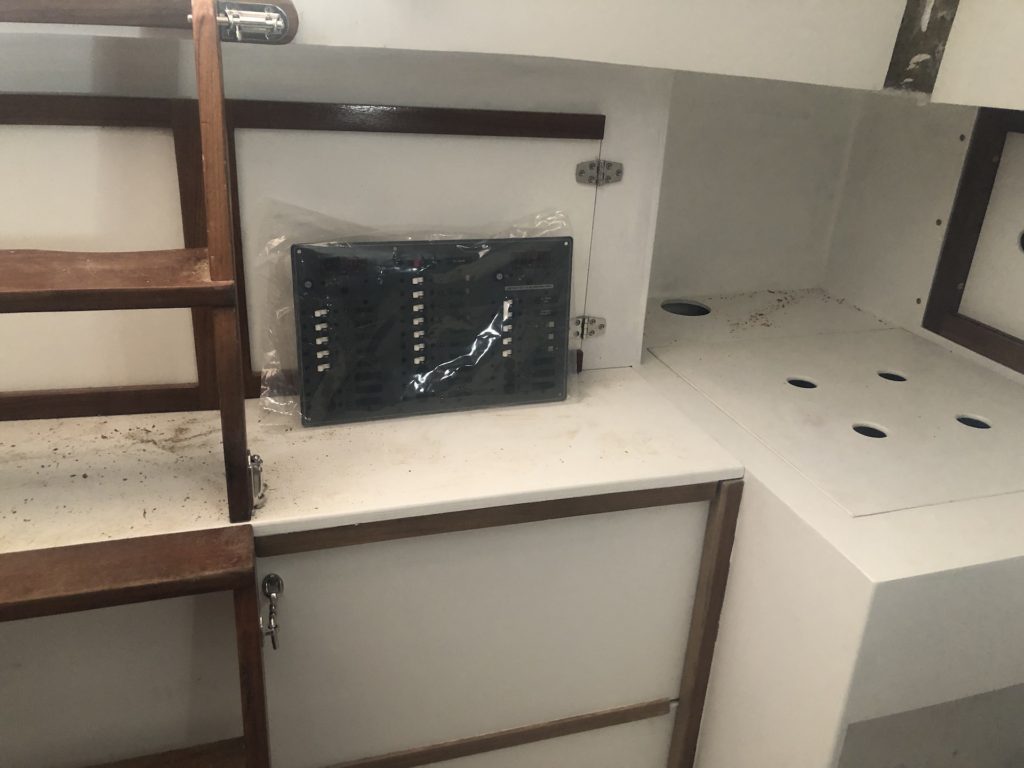
The alcove at the aft end of the port-side galley. I could mount a swinging door here. Plenty of room in this space.
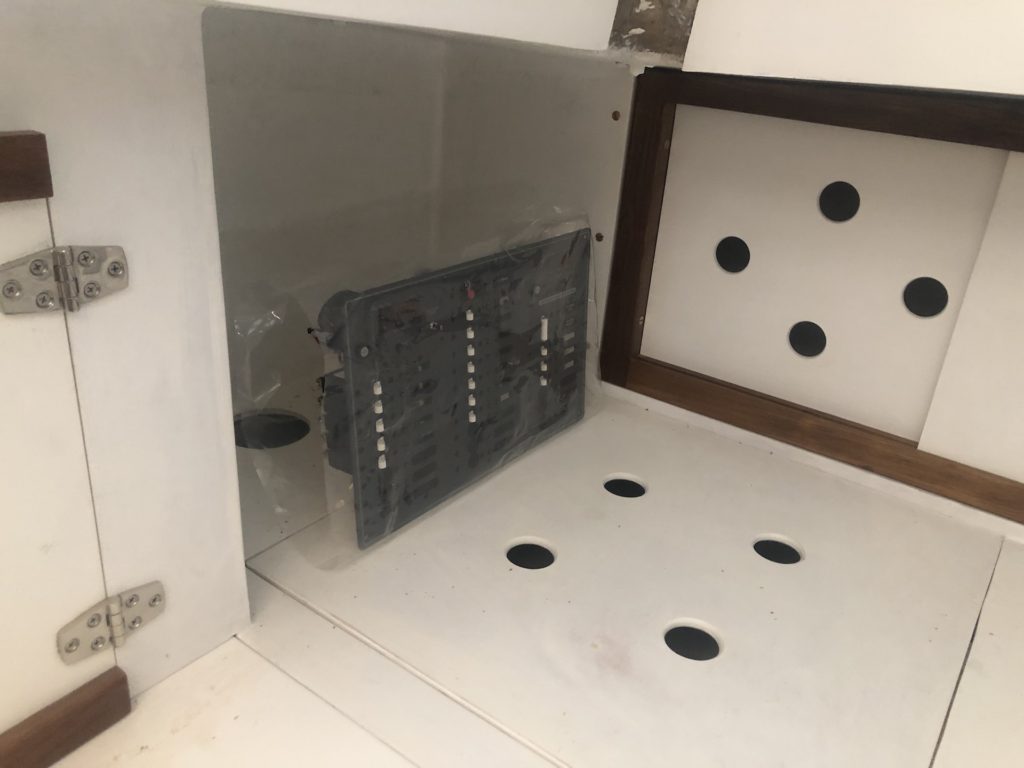
Starboard main bulkhead. Disadvantages are having to cut a hole in a structural bulkhead, being out in the open where people could brush up against it and accidentally throw a switch, and the back of the panel being in the aft hanging locker. Advantages are visibility, accessibility, static installation, excellent access to the back of the panel, proximity to batteries, and central location for wring purposes.
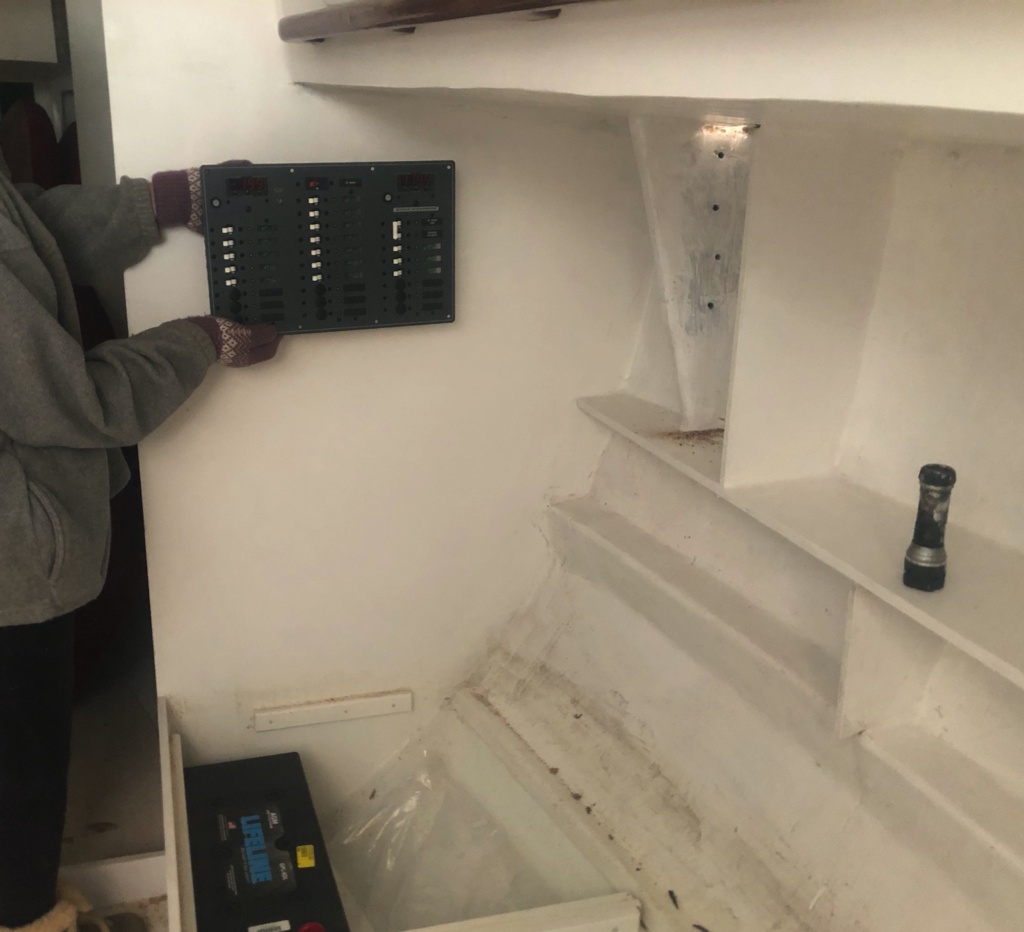
After deliberation and consultation, I decided on the bulkhead location above. I will build a teak frame with a hinged plexiglass cover to protect the panel from human activity. I will “box in” the back of the panel and associated electronics to protect it from the rest of the hanging locker, and I will build this boxing-in in such a way that it reinforces the bulkhead.
Here I’ve made a routing template and inserted the panel to check the fit.
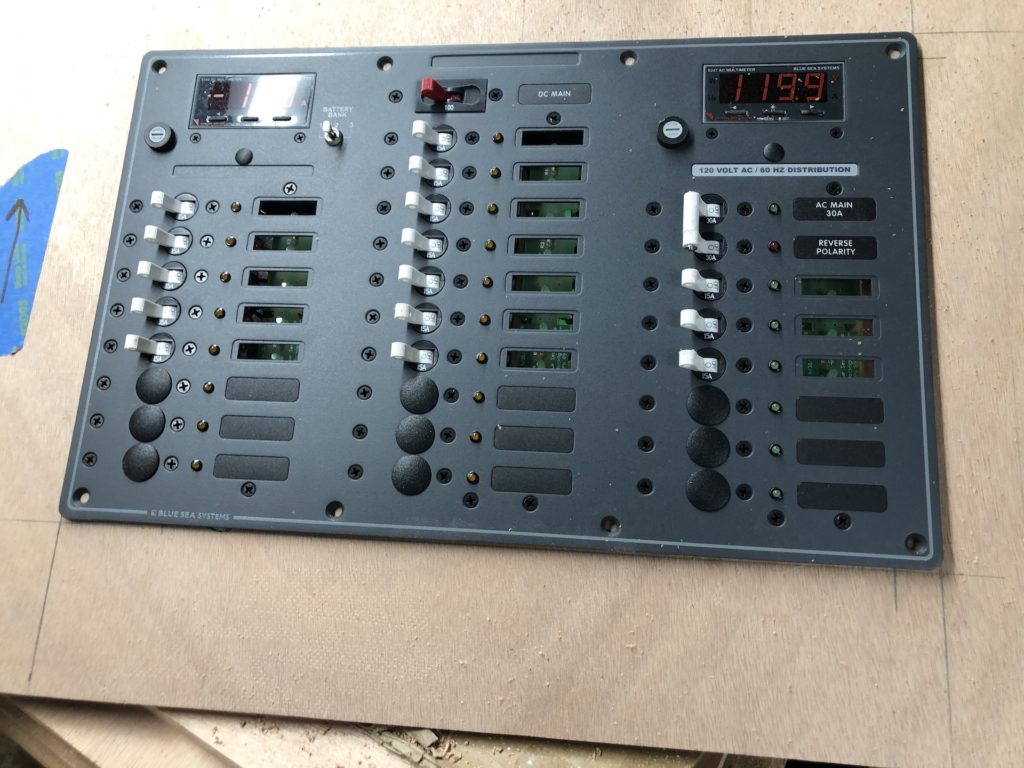
The panel cutout is complicated because the components live so close to the perimeter.
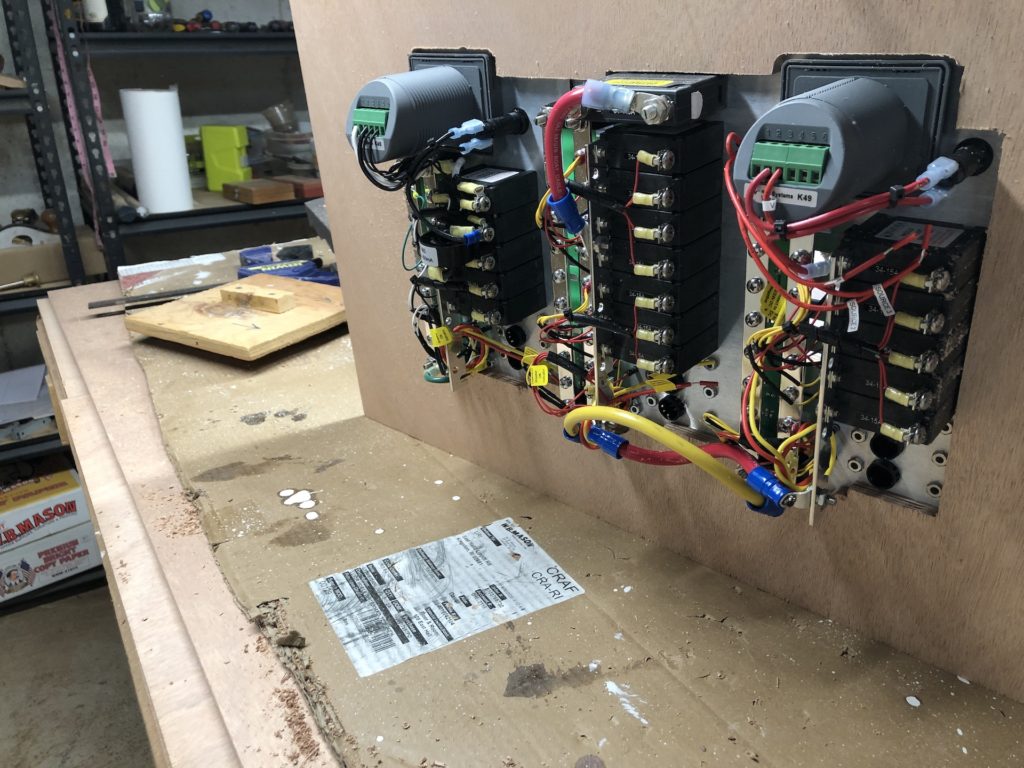
I used the template to trace the cutout then cut close to the pencil line.
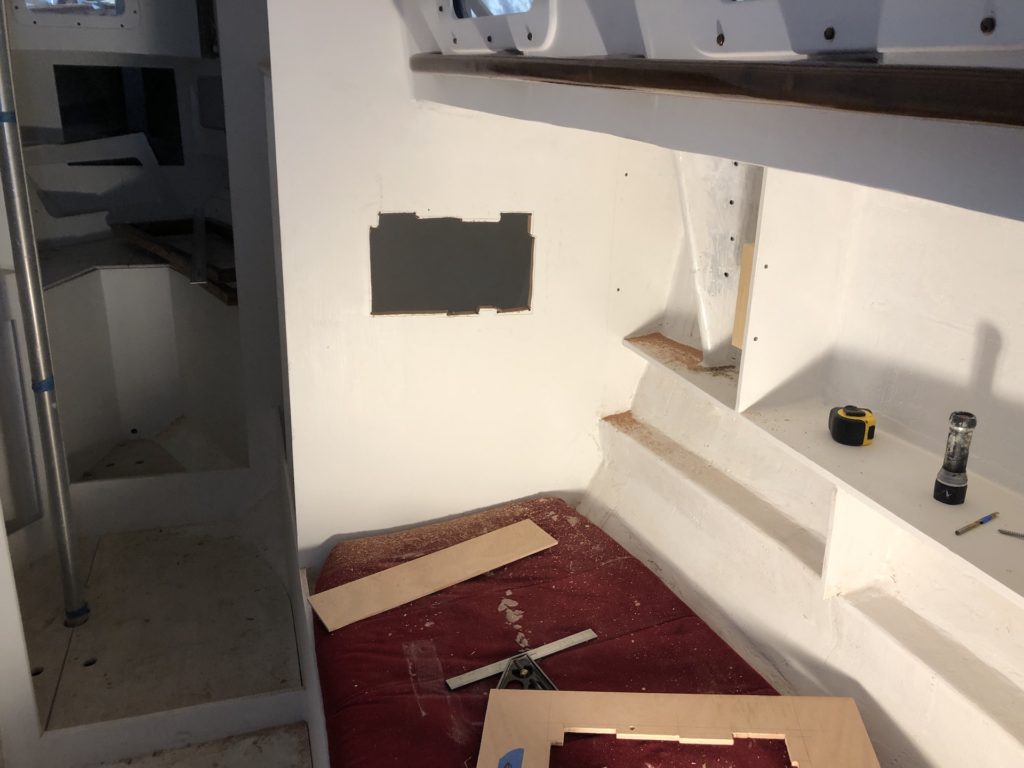
I used a router to take it out to the pencil line, and then with a few more adjustments, the panel fit:
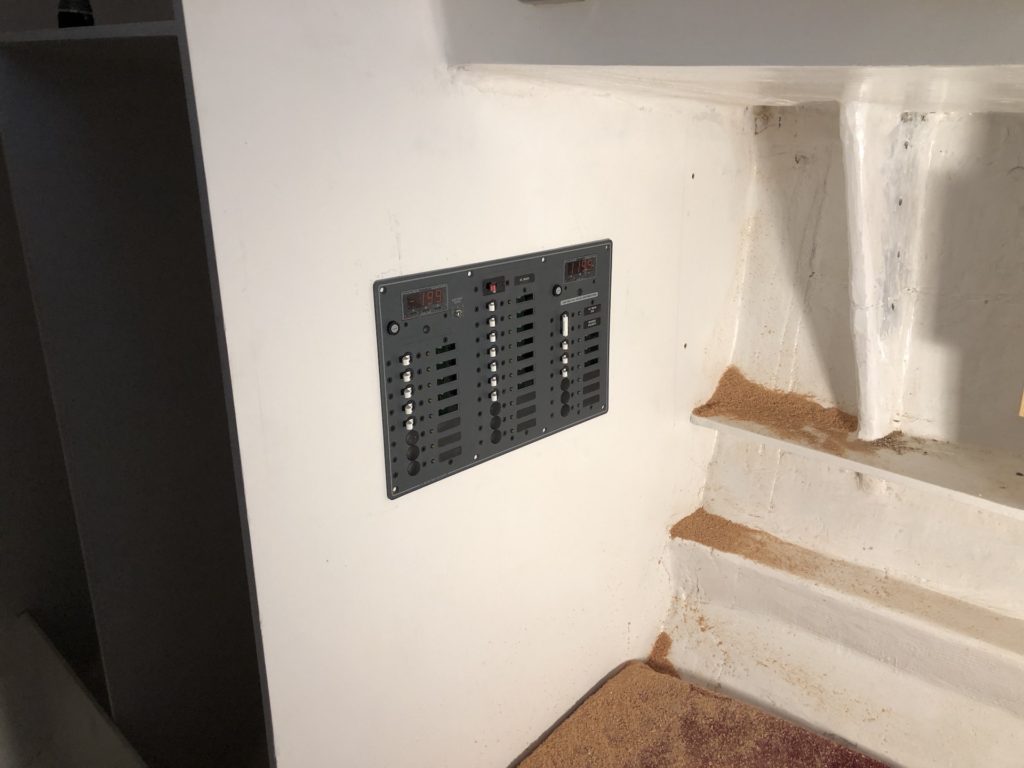
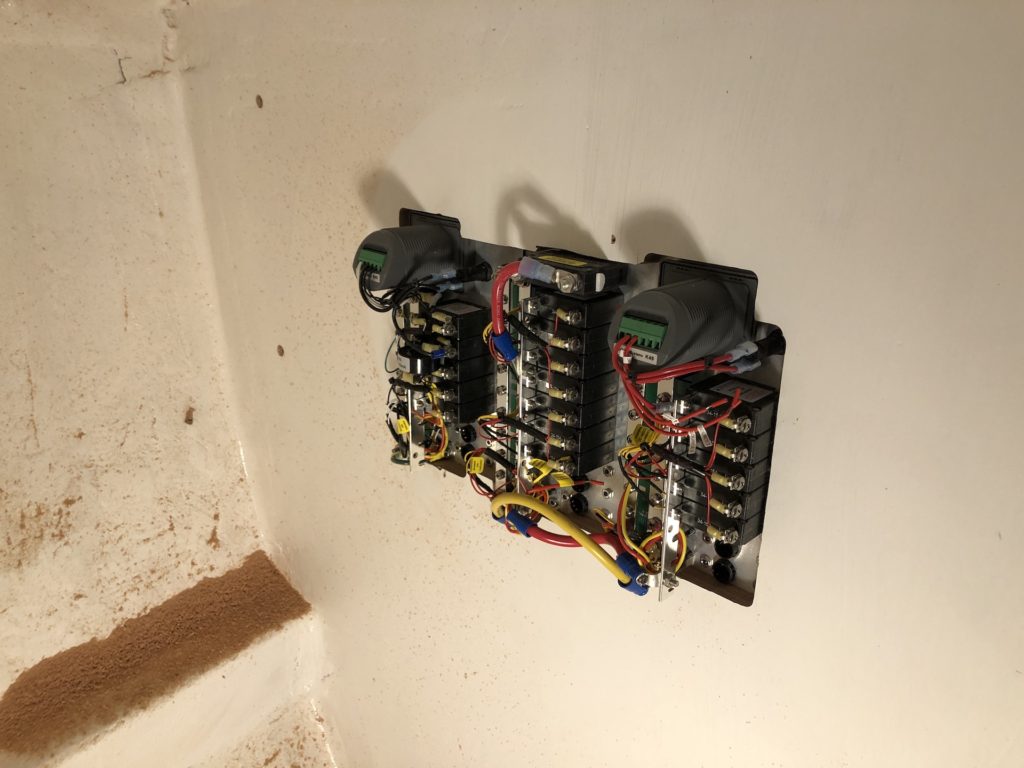
Next up will be constructing the frame around the front of the panel.
Tom
01/08/2021 — 6:18 pm
Fabulous work Mike
Kathleen
01/08/2021 — 7:24 pm
Wow! That is extraordinary work, Mike!